

From paper pattern to finished file in one pass: this quickstart takes you through your first digitization in about ten minutes. Every step links to a detailed guide if you want to go deeper.
Create your account at app.patternscan-pro.com, every plan starts with a free 14-day trial with the full feature set. Then print the four Reference Tiles on white paper at 100% scale, they give every photo its scale. How to print and check them is in the reference guide.


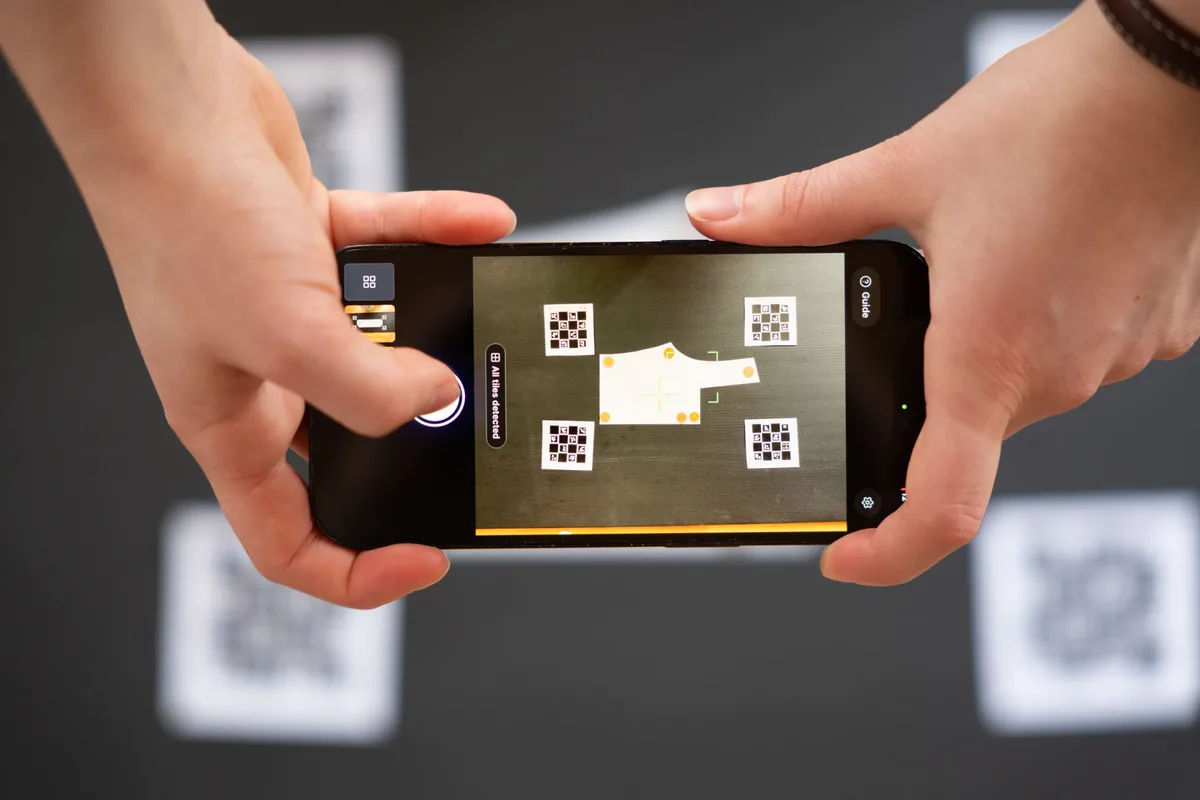
Lay one cut-out piece flat on a dark surface, place the four tiles about 1 cm around it and shoot from directly above. One piece per photo. With PatternScan Pro Mobile you photograph straight in the app, on the desktop you upload photos together with a calibration profile. The ideal photo, step by step: photography guide.
PatternScan Pro corrects the distortion and detects the contours automatically. Check the result in the editor, measure a known length, and adjust points and curves where needed, everything about that is in the contour editing guide. If a measurement is off, correct the scale with the built-in tool instead of taking a new photo.
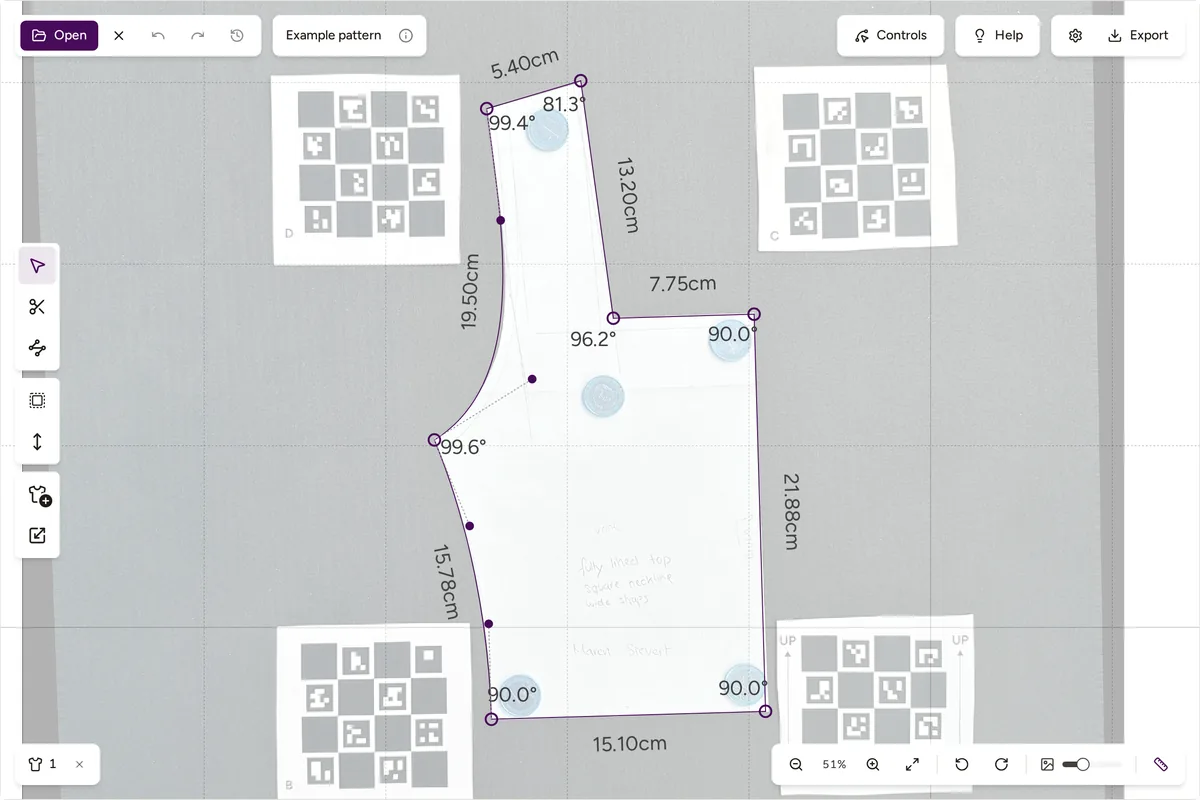
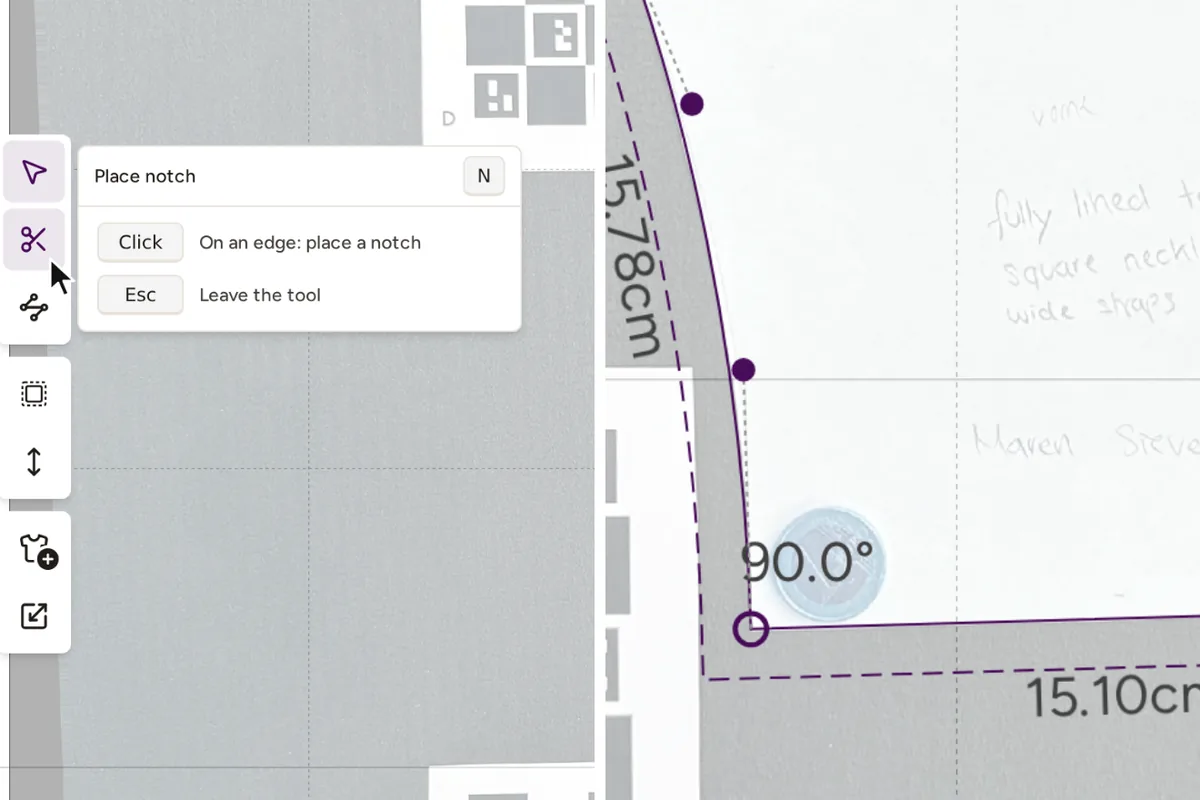
Add the seam allowance, set notches and define the grain line, the finishing guide shows all three tools. You can also skip this and do it later, the pattern stays editable in your library.
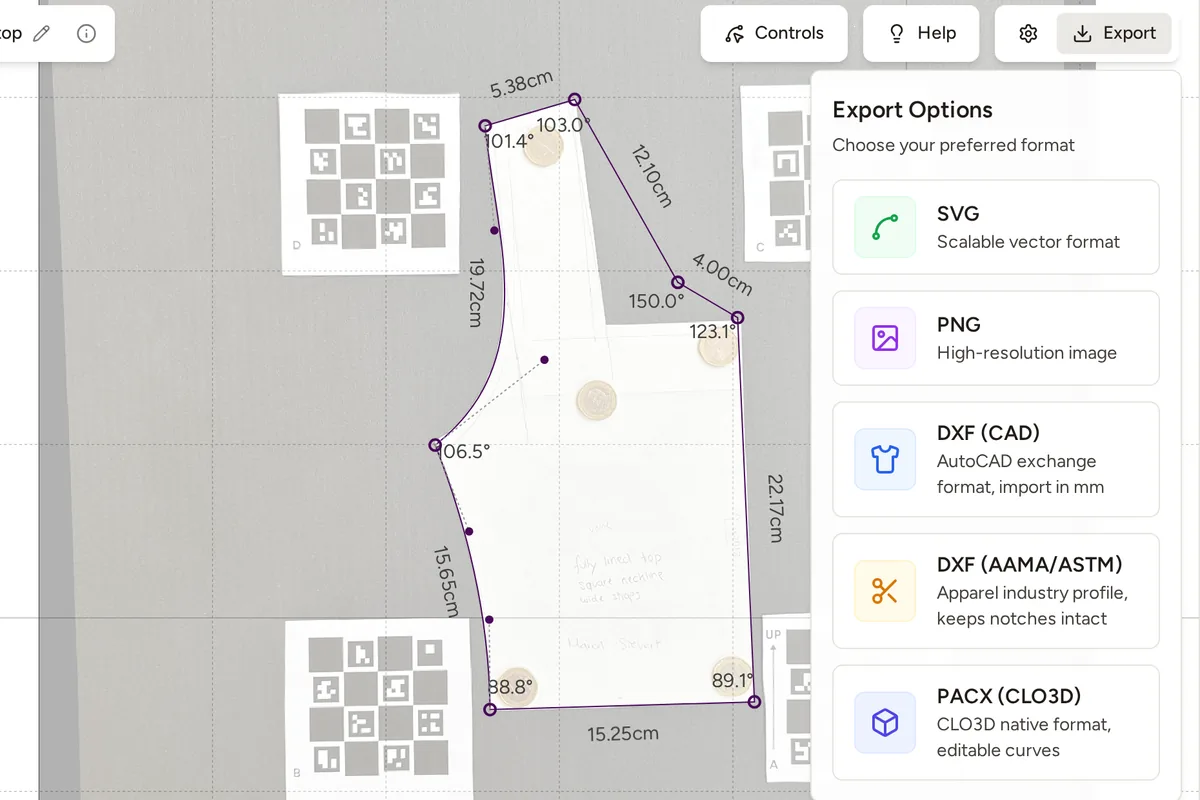
Click Export and pick your format: SVG for vector programs, DXF for CAD, PACX for CLO3D, PNG as an image. Every vector export is true to scale in millimeters. Which format fits which software, and how the import works, is in the export guide.

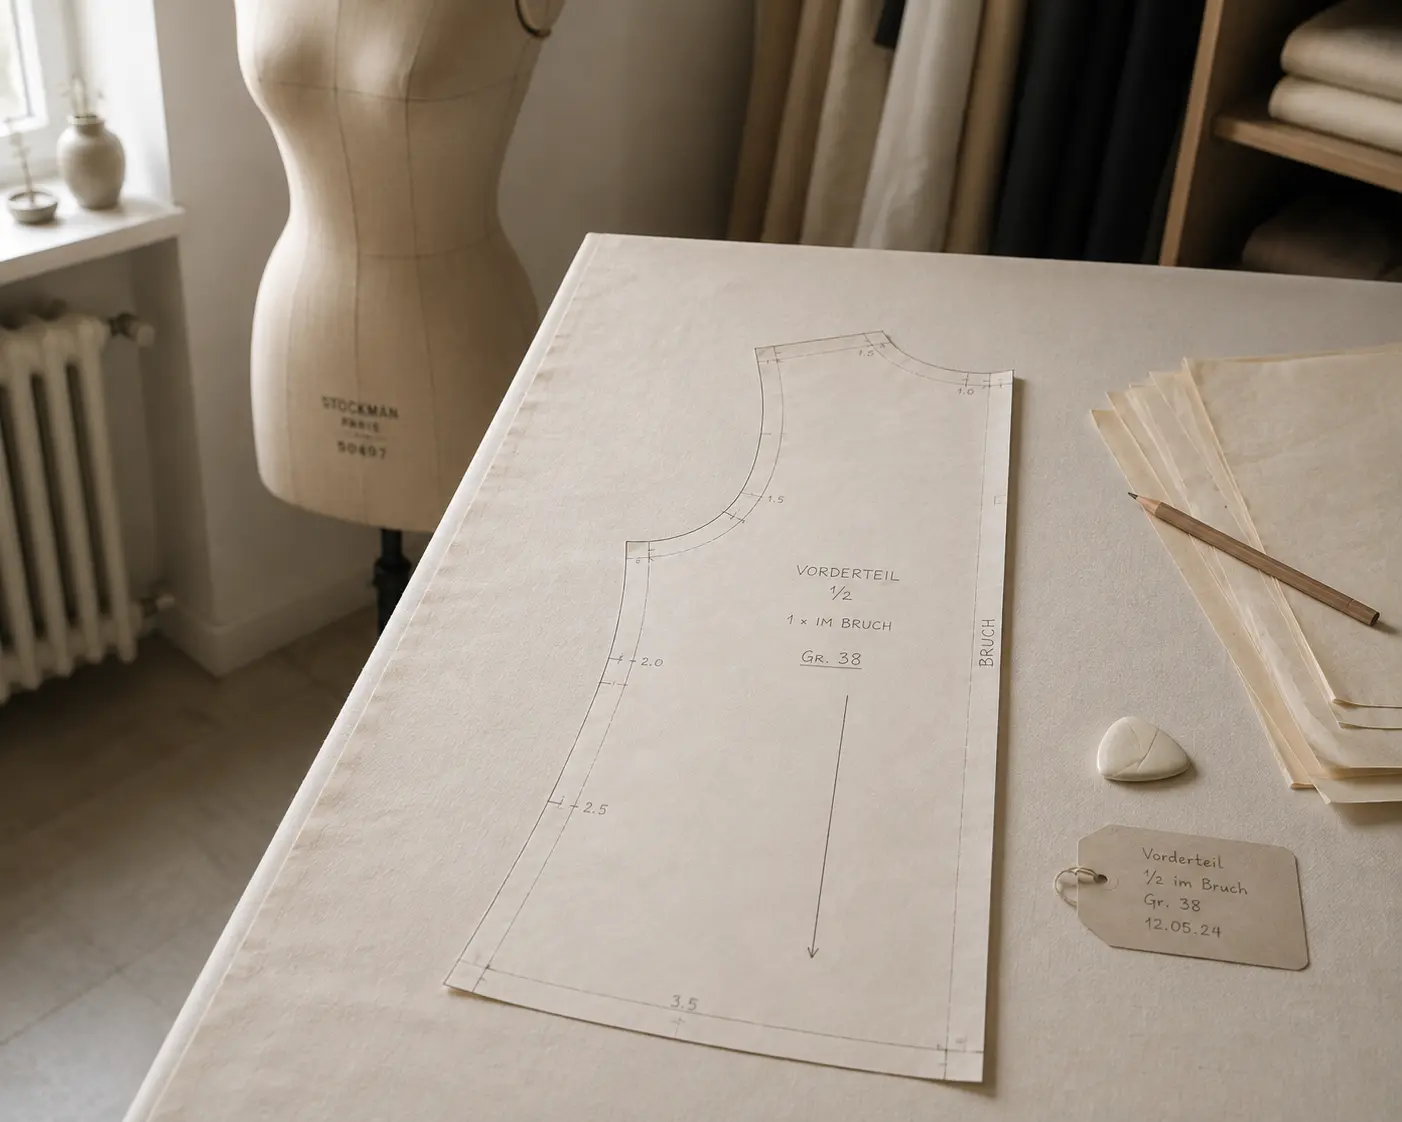
Digitize sewing patterns without tracing.
Test PatternScan Pro free for 14 days with the full feature set. You need your smartphone, a printer and one pattern you always wanted digital.
Photograph your paper pattern and get an automatically scaled digital version with PatternScan Pro.
Usage