

One digitized pattern, five export options. This guide shows you the export menu, which format fits which software, and the import steps in the programs you use.
Click Export in the editor and choose from the export options:
Every vector export is true to scale in millimeters.


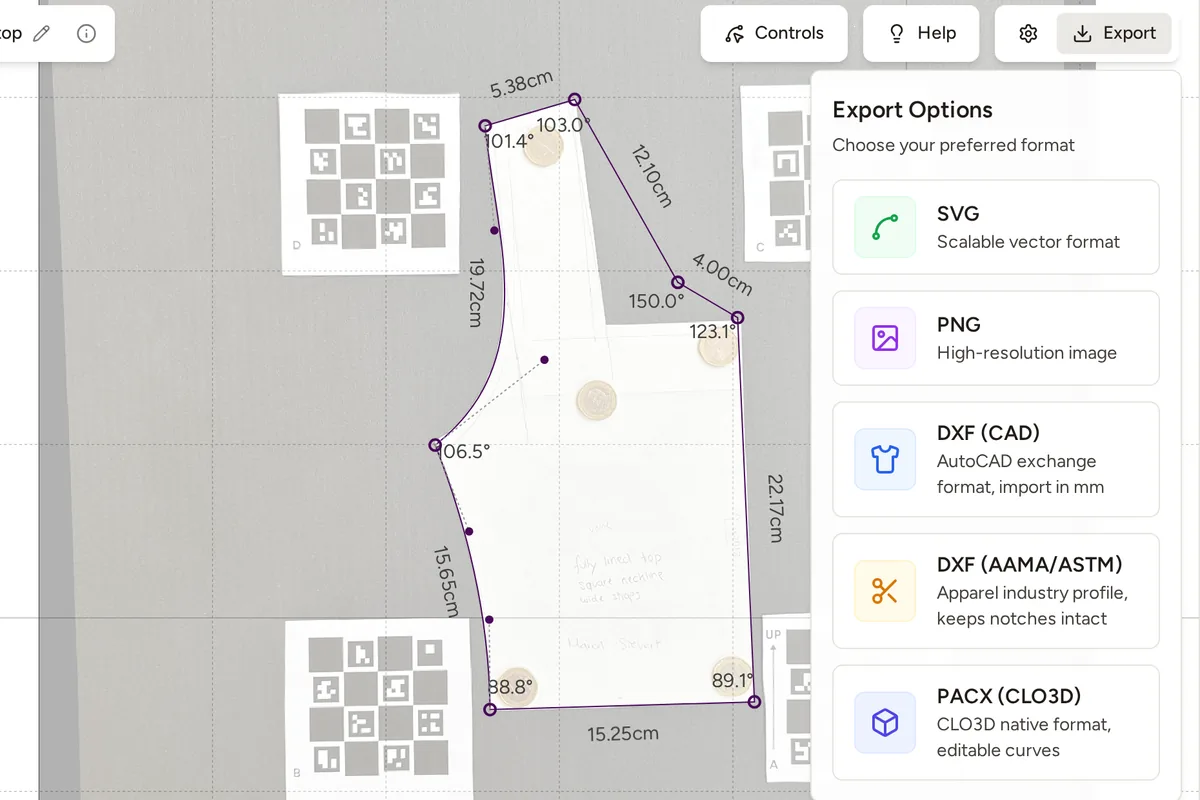

Open the file in Illustrator, Inkscape or Affinity like any vector file. All contours arrive as editable paths and the scale is embedded in millimeters: what you measure in the app is what you measure in your program. Check one known length after opening, then keep working.

On import, choose millimeters as the unit, that is the setting that goes wrong most often. The generic DXF puts the seam line on the SEW layer, the cutting edge on CUT, notches on NOTCH and the grain line on GRAIN. The AAMA/ASTM variant is the better choice for pattern CAD: notches arrive as real notch points and the grain line on its standard layer, in GRAFIS use the AAMA import for that. The export is tested with GRAFIS and follows the R2013 standard.
Open it like any pattern file. The pieces arrive true to scale with curves that stay editable, ready to arrange and sew virtually. PACX deliberately carries just the seam line, CLO3D derives the allowance itself; notches and grain line are currently not included.
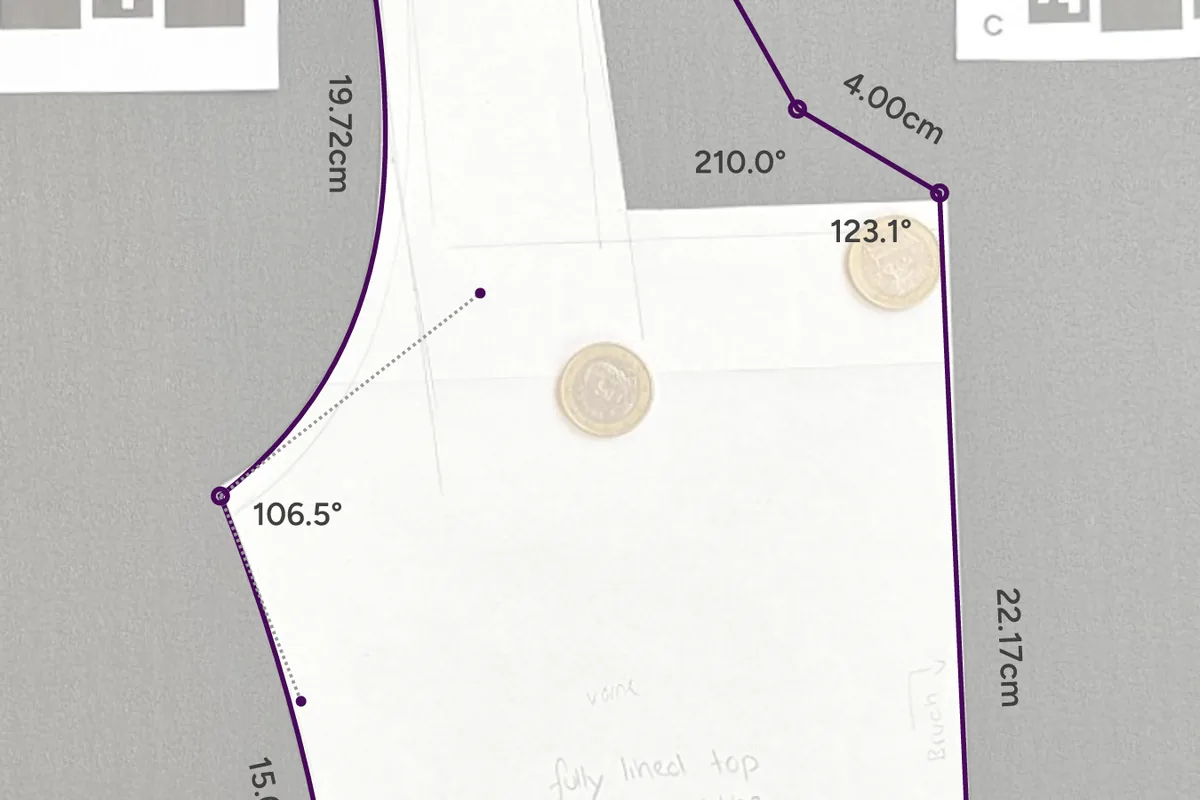
The PNG is a high-resolution image on a white background, good for documentation, listings and quick sharing. It is a picture, not a pattern file: for sewing or CAD work always use one of the vector formats.
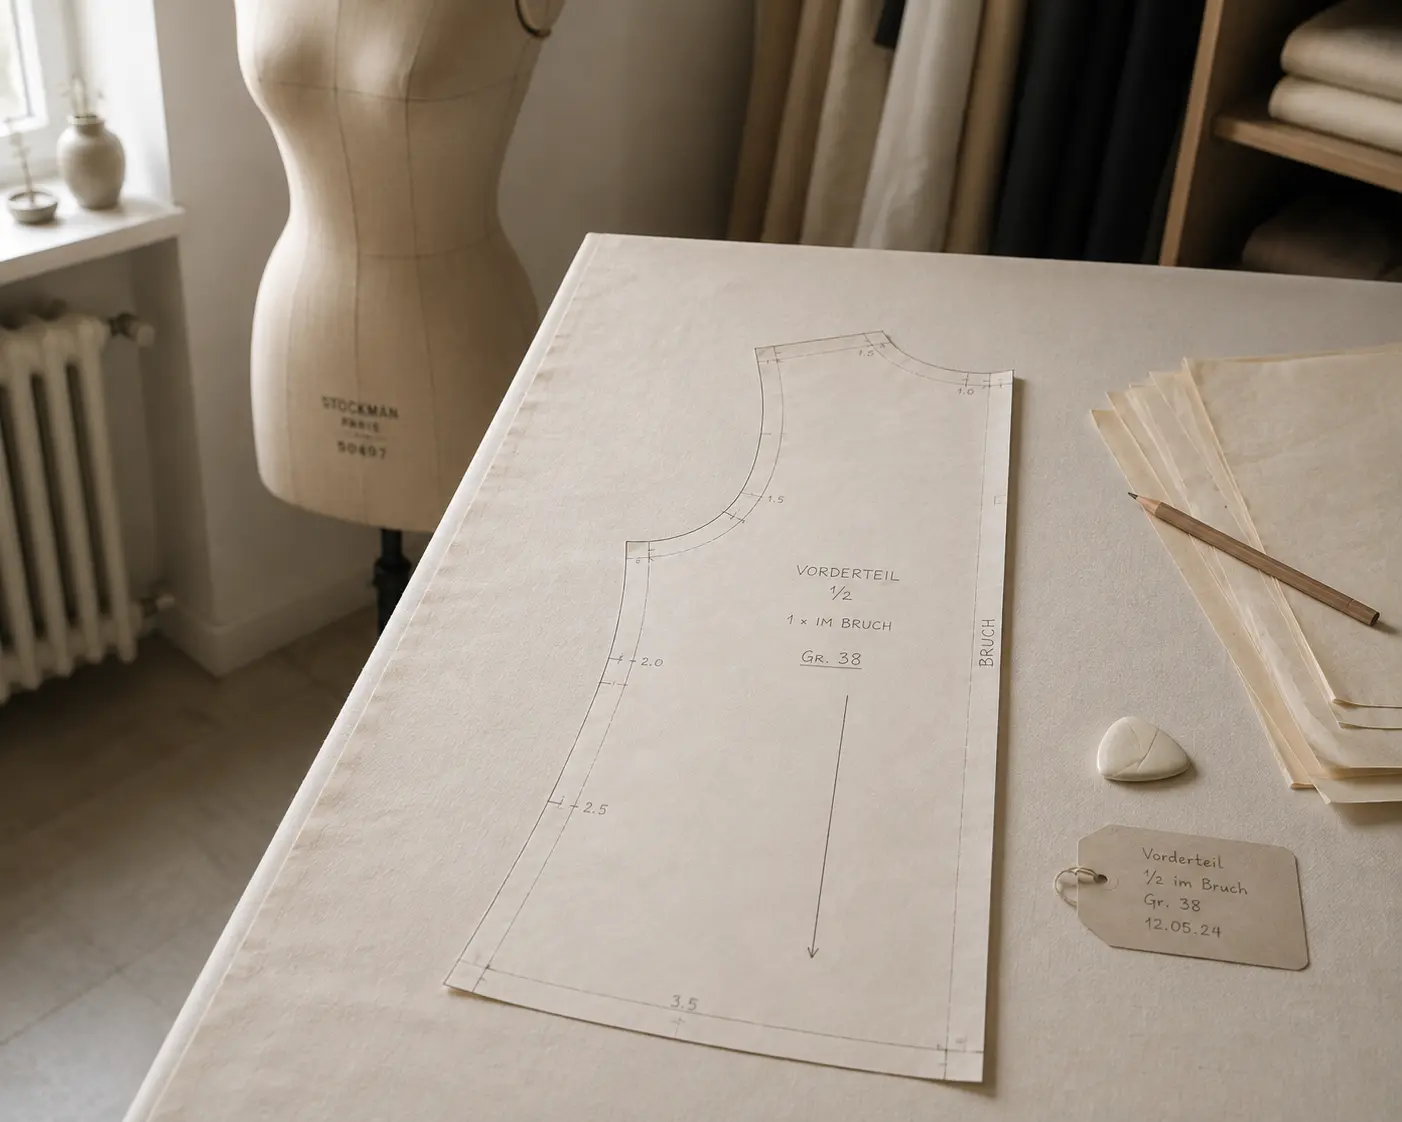
Digitize sewing patterns without tracing.
Test PatternScan Pro free for 14 days with the full feature set. You need your smartphone, a printer and one pattern you always wanted digital.
Photograph your paper pattern and get an automatically scaled digital version with PatternScan Pro.
Usage