

To digitize a made-to-measure pattern, photograph the pieces after the fitting and export a true-to-scale file. Every client pattern stays documented and ready for the next adjustment.
Ateliers sit on years of paper: client patterns, basic blocks, tried and tested fits. Digitizing keeps that knowledge safe without changing how you draft.
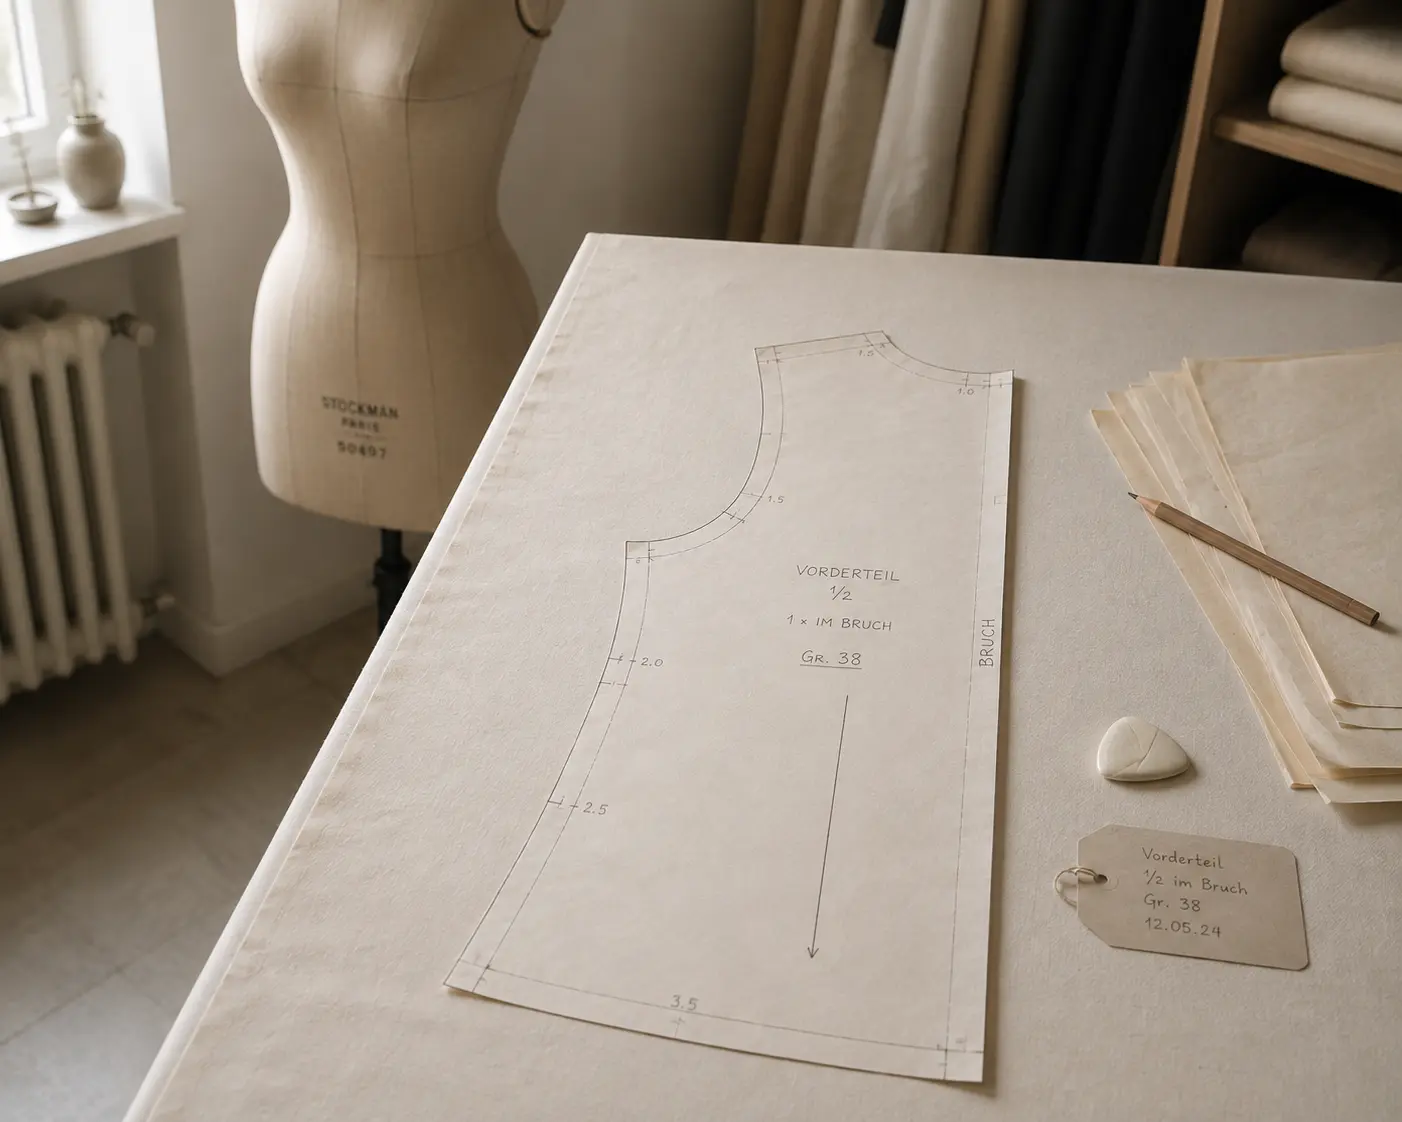
A custom pattern holds hours of fitting work. On paper it exists once, in one place. As a digital file it is backed up, searchable and ready to adapt for the next garment or the next fitting.
Just need a specific file format? Head straight to your workflow: SVG for vector programs, DXF for CAD or PACX for CLO3D.
PatternScan Pro handles distortion correction, scaling and contour detection automatically. Go straight from photo to usable digital pattern.
Lay your cut-out pattern piece on a dark surface, place the four Reference Tiles around it and photograph it from above. Our photography guide shows the ideal photo.
PatternScan Pro corrects the perspective and detects the contours automatically. You review the result in the editor, measure lengths and adjust curves where needed.
Export as SVG or DXF and save the file under the client's name in your own folders. For the next adjustment you start from the file, not from the drawer.
Try the three steps with your own pattern.
You keep drafting on paper the way you always have. The app adds the digital layer on top, without CAD expertise.

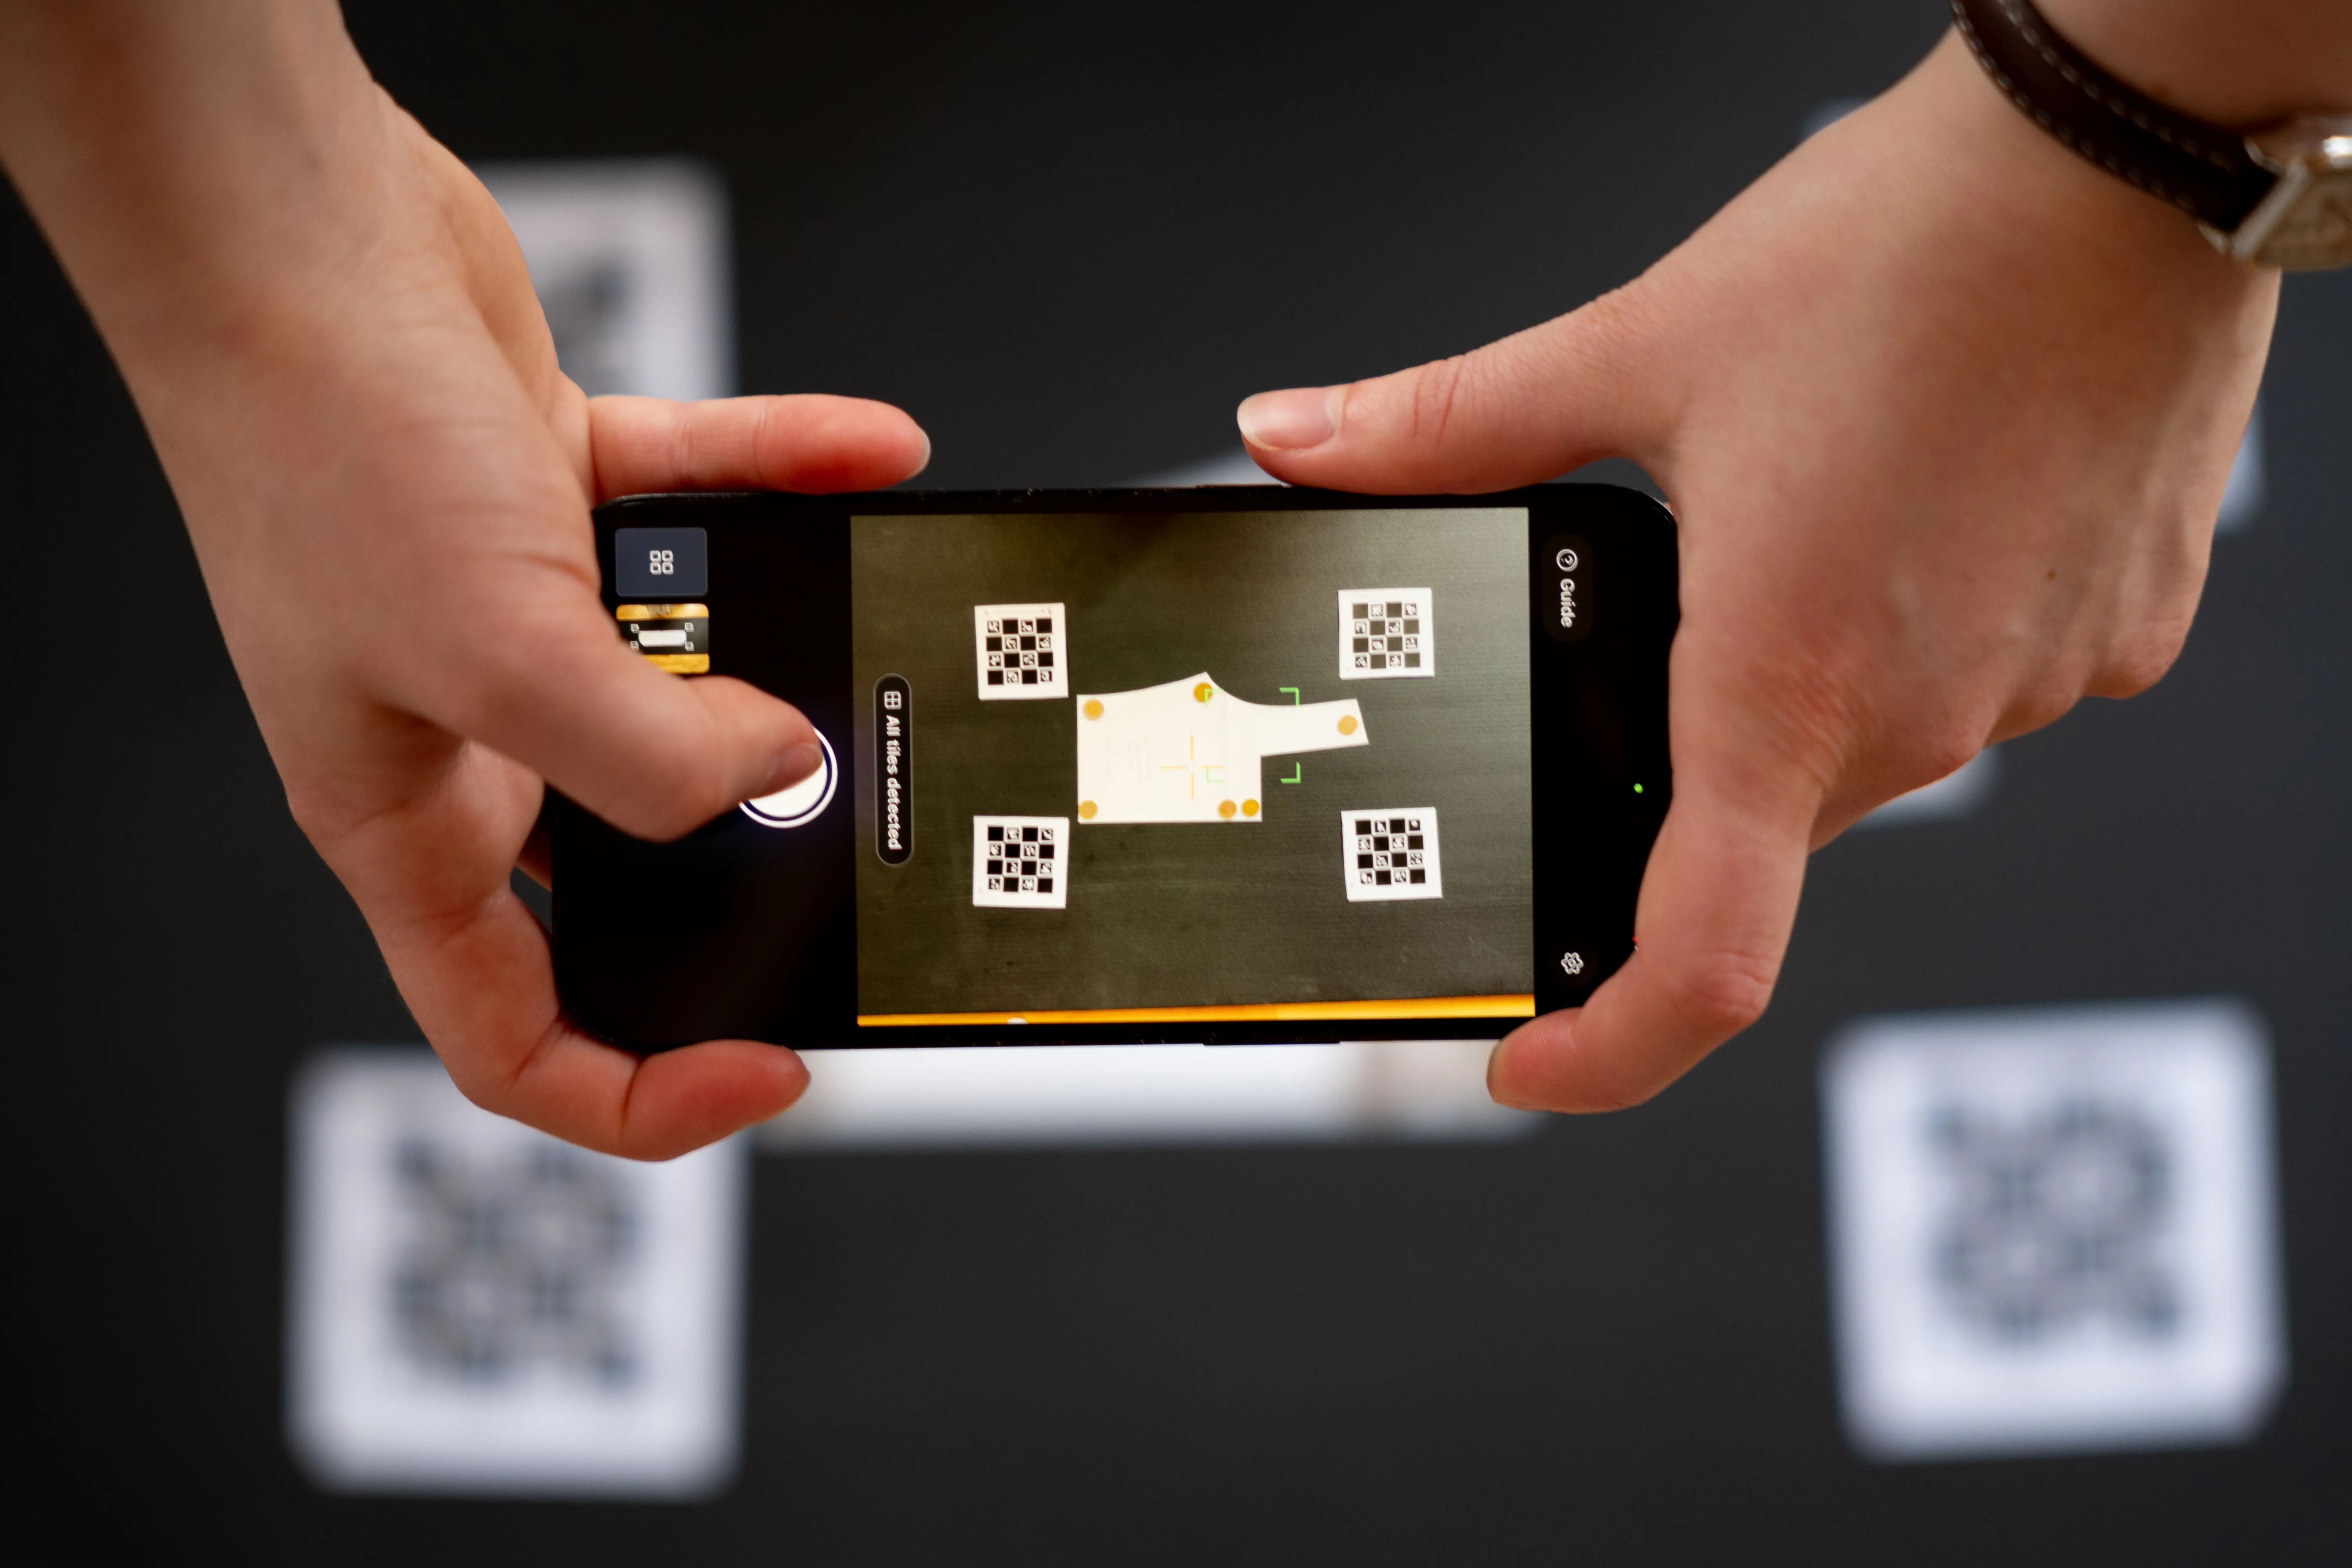
The four printed Reference Tiles around your pattern tell the app exactly how large everything is. PatternScan Pro also corrects the distortion of your camera lens. Together this is what makes photo-based digitizing precise enough for real pattern work. You can verify it yourself: measure a known length after importing.
More on the tiles in our reference guide.
Can I organize patterns by client?

Yes. Export each pattern and save it under the client's name in your own folder structure. As digital files, every client's pattern is found in seconds.

Guide: Creating a Calibration Profile
Learn how to create accurate calibration profiles
Guide: Print and Use Reference
Learn how to use the reference correctly
Guide: How to Photograph Your Pattern
Complete step-by-step instructions
Do I need CAD expertise?
No. Photograph, check the contours, export. If you later want CAD, the DXF export is ready for it, but the app itself needs no CAD knowledge.
Guide: Creating a Calibration Profile
Learn how to create accurate calibration profiles
Guide: Print and Use Reference
Learn how to use the reference correctly
Guide: How to Photograph Your Pattern
Complete step-by-step instructions
How accurate are the measurements?
The Reference Tiles set the scale and exports are in millimeters. We still recommend measuring one known length after importing, as with any digitizing workflow.
Guide: Creating a Calibration Profile
Learn how to create accurate calibration profiles
Guide: Print and Use Reference
Learn how to use the reference correctly
Guide: How to Photograph Your Pattern
Complete step-by-step instructions
Do I need special hardware?
No. A smartphone camera and a normal printer for the Reference Tiles are enough. There is no scanner, no plotter and no special equipment involved.
Guide: Creating a Calibration Profile
Learn how to create accurate calibration profiles
Guide: Print and Use Reference
Learn how to use the reference correctly
Guide: How to Photograph Your Pattern
Complete step-by-step instructions
Have more questions? Feel free to contact us.
Use your digitized patterns for whatever comes next: grading, CAD, 3D simulation, projecting, or your archive.
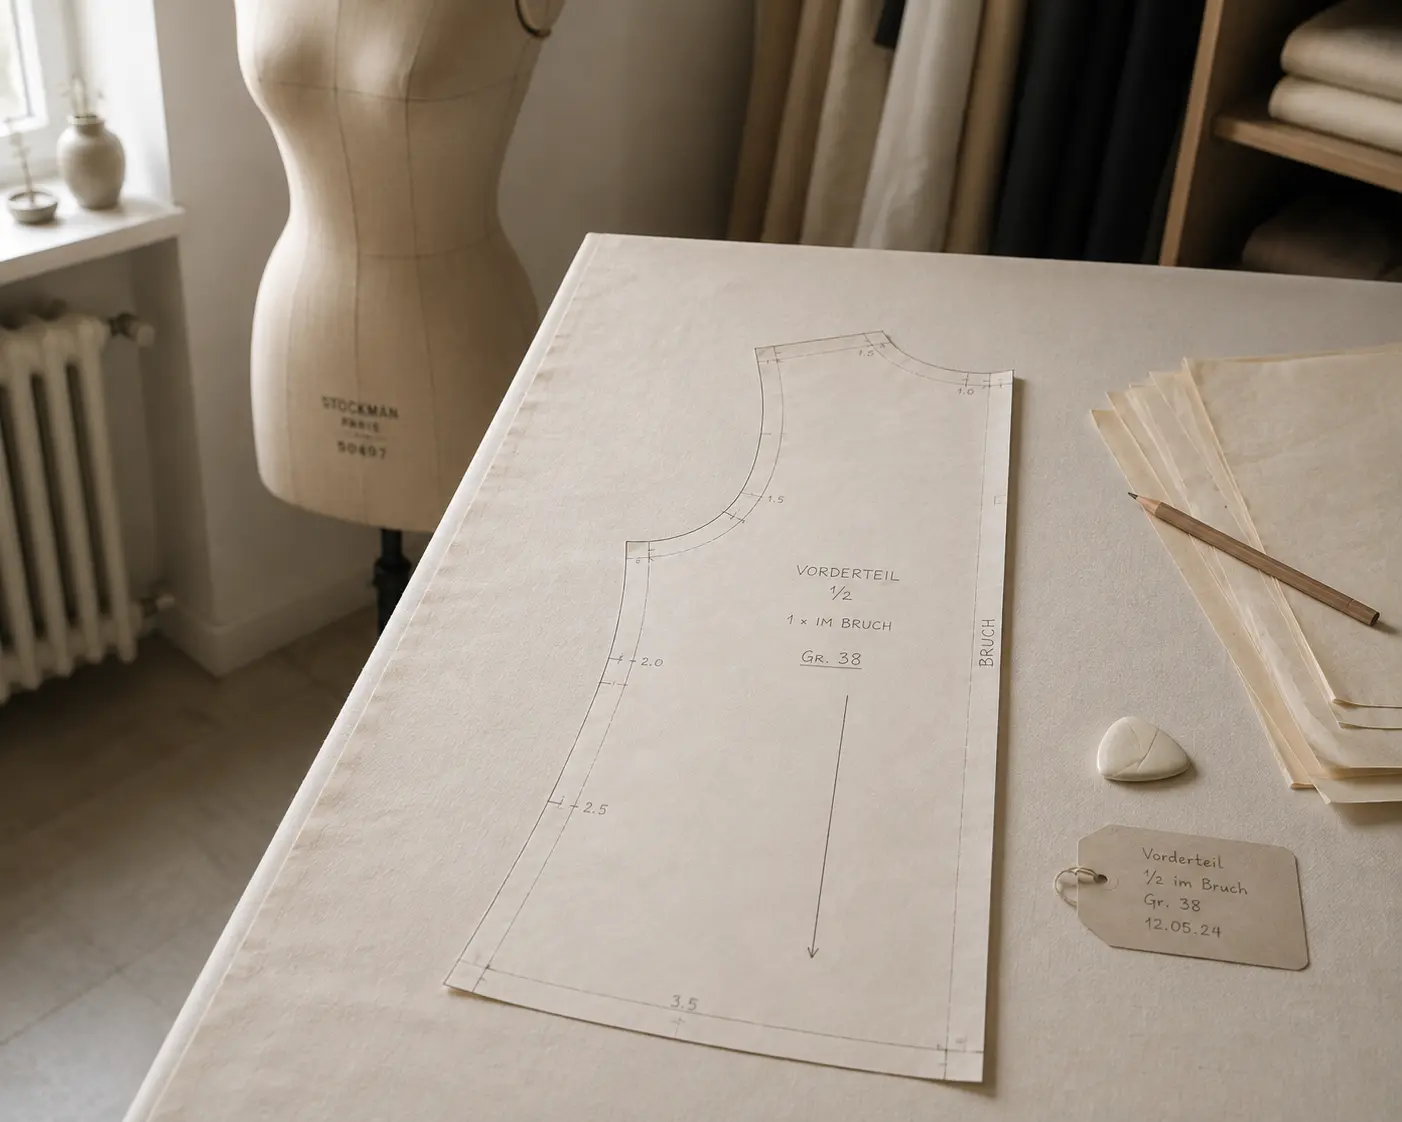
Digitize sewing patterns without tracing.
Test PatternScan Pro free for 14 days with the full feature set. You need your smartphone, a printer and one pattern you always wanted digital.
Photograph your paper pattern and get an automatically scaled digital version with PatternScan Pro.
Usage
.svg)