

Good photos are the foundation for accurate digital sewing patterns. This guide shows you the setup, the correct placement of the Reference Tiles and the shot itself, and how to check and correct the scale in the app afterwards. You need your cut-out pattern (white or cream), a dark flat surface, good lighting, and your printed Reference Tiles.
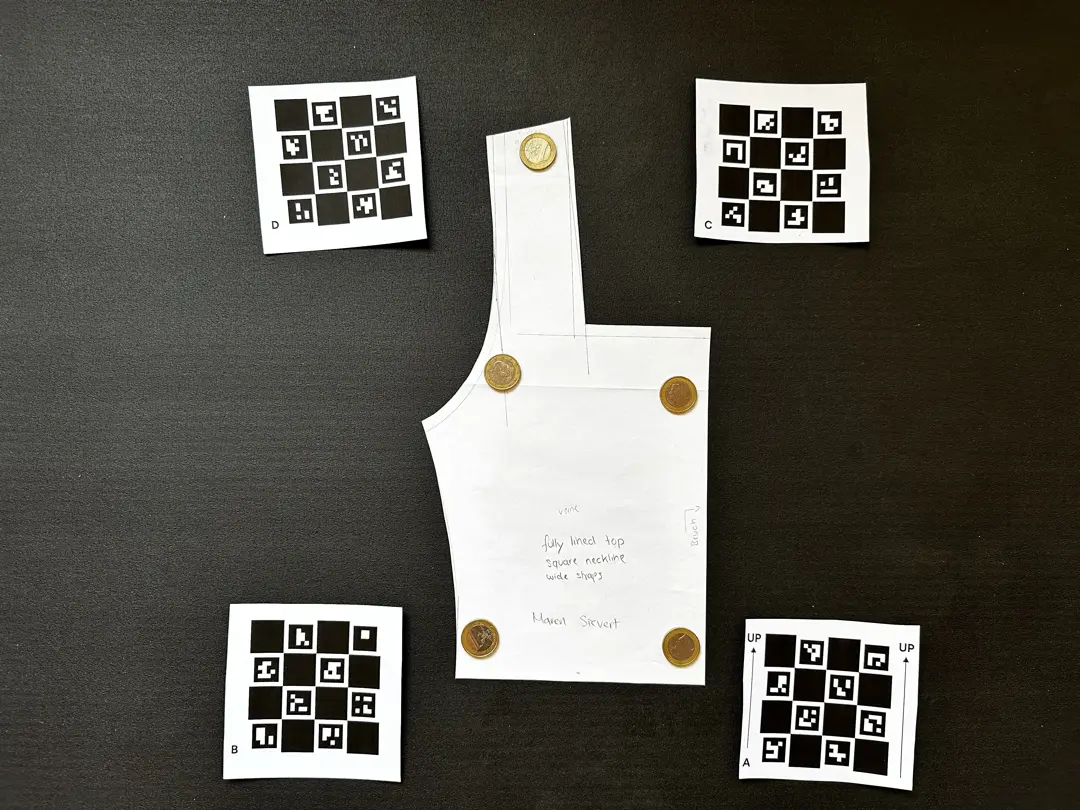
A bright, cut-out sewing pattern lies flat on a dark, even surface. The four Reference Tiles follow the outline of the piece, each about 1 cm away from it, all four fully visible. The photo is taken from directly above at a 90° angle with even, diffuse lighting. All edges are sharp and nothing is cut off at the image border.


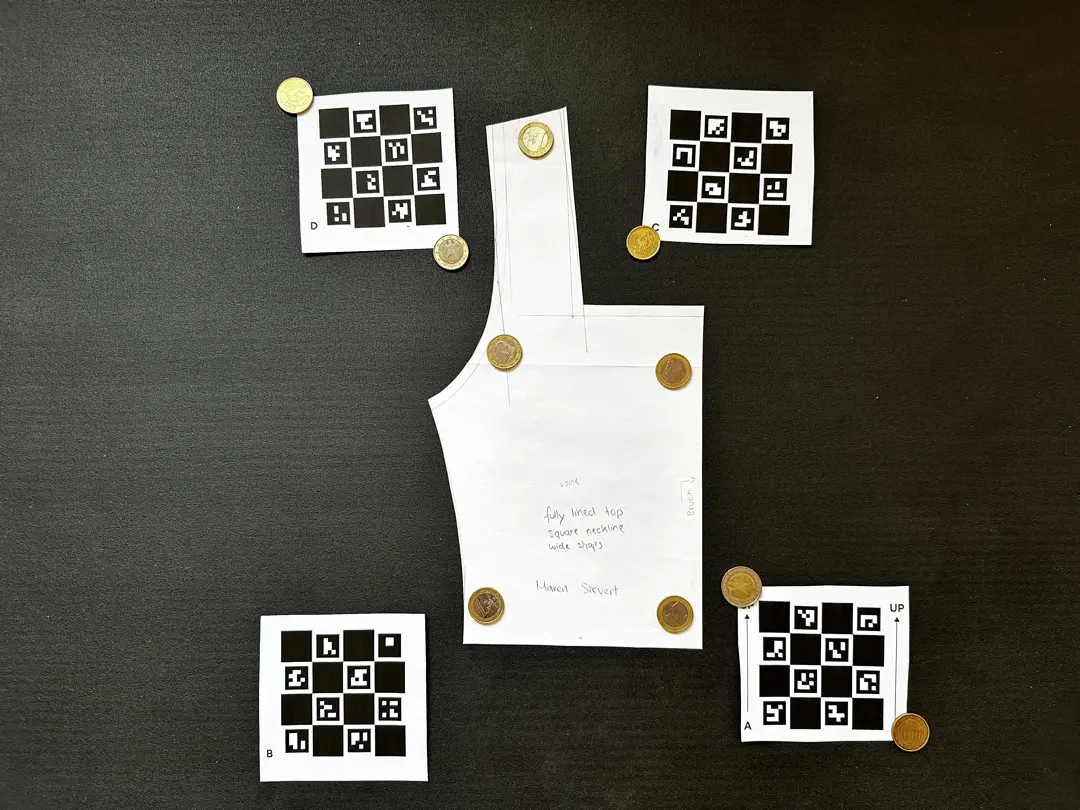

Use a dark, uniform, flat surface: black construction paper, black cardboard or a plain dark floor. Lay your cut-out pattern on it completely flat and smooth it out. For stubborn waves, hold the paper down with small weights instead of pins.
Lay out one piece per photo: several pieces in the same shot cannot be told apart by the detection.
Avoid: Patterned or light surfaces, and waves, wrinkles or bends in the paper. Both lead to detection errors and inaccurate measurements.
Lay the four Reference Tiles flat around your pattern piece with about 1 cm of space between tile and paper. With no gap the app cannot separate tile and piece, with a much larger gap accuracy suffers.
The tiles follow the outline of your piece: no part of the pattern may stick out beyond them, a trouser leg reaching past the tiles will not work. They do not have to form a rectangle, along a curved piece you can place them in a curve. Tile “A” is the lead tile, its arrows will point upward on the digitized pattern.
Avoid: Wavy, creased or damaged tiles. If a tile curls, bend it gently in the opposite direction or weigh down its edges, and print a new set when tiles are visibly worn.


Hold your smartphone parallel to the floor, directly above the pattern. Use your camera's built-in level, on iPhone the two crosshairs need to align. Position the camera so that pattern and tiles fill about two thirds of the frame with some margin, tap the pattern to set the focus, clean the lens beforehand, and use even, diffuse light without harsh shadows or reflections.
Avoid: Angled shots. The app corrects slight tilts, but a straight overhead photo gives the most reliable result.
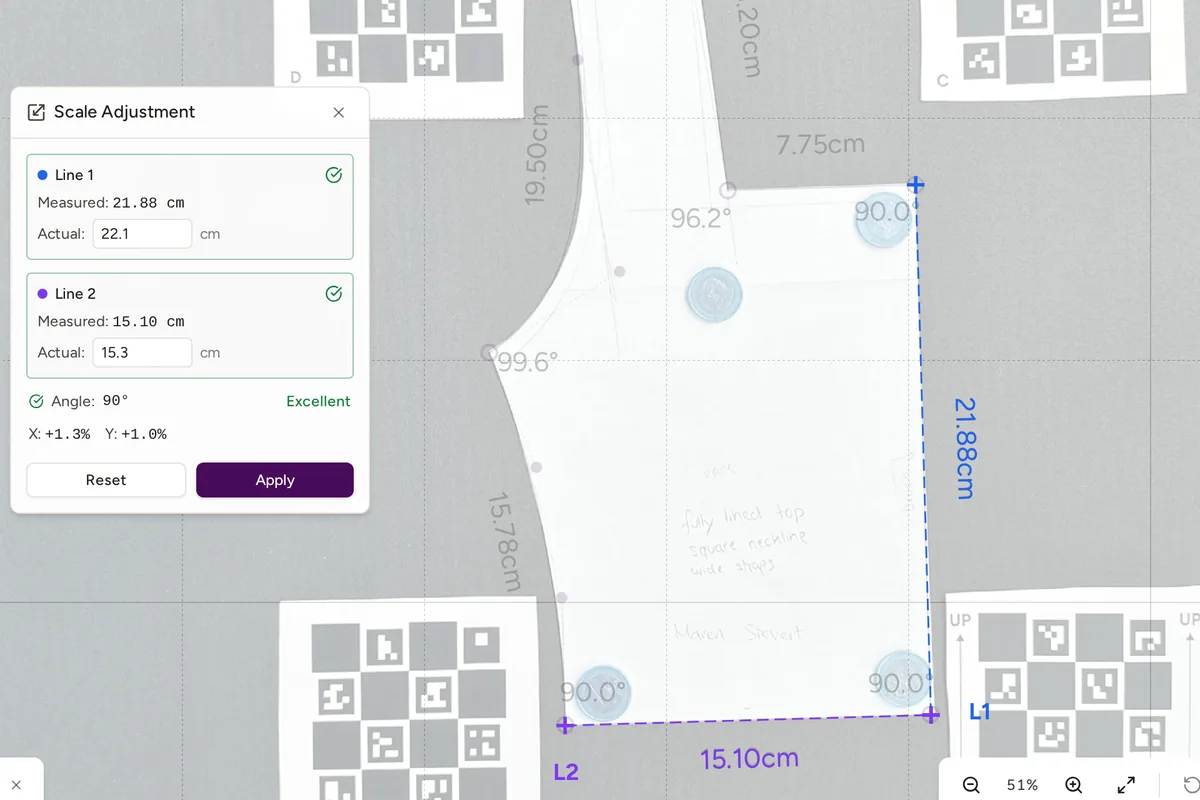
After the upload, check the detected contours in the editor and measure a known length, for example an edge you know from the paper original.
If a measurement is off, you do not need a new photo: open Correct scale (shortcut R), draw or select two reference lines at different angles along distances you know, enter the actual measurements and apply. The app corrects the scale, even direction-dependent distortion. A small mistake in the photo is not the end of your digitization.
The whole accuracy chain, from printing to the final scale check, is in our guide Digitizing True to Scale.

Uncut pieces on large sheets cannot be detected automatically, the app needs free-standing contours. Cut along the lines before photographing, or trace the contour manually in the editor.
Wood floors, cutting mats and light surfaces blend into the pattern. Use a dark, uniform surface so the light paper stands out clearly.


If a tile or a pattern edge touches the image border, detection fails. Step back until everything is inside the frame with a margin, visible floor around the dark surface is fine.
Curled or creased tiles distort the scale. Flatten them, weigh down their edges, or print a fresh set.

Fingerprints on the lens, camera shake and shiny spots on the surface all blur the edges the app needs. Clean the lens, hold still, and avoid direct light sources.
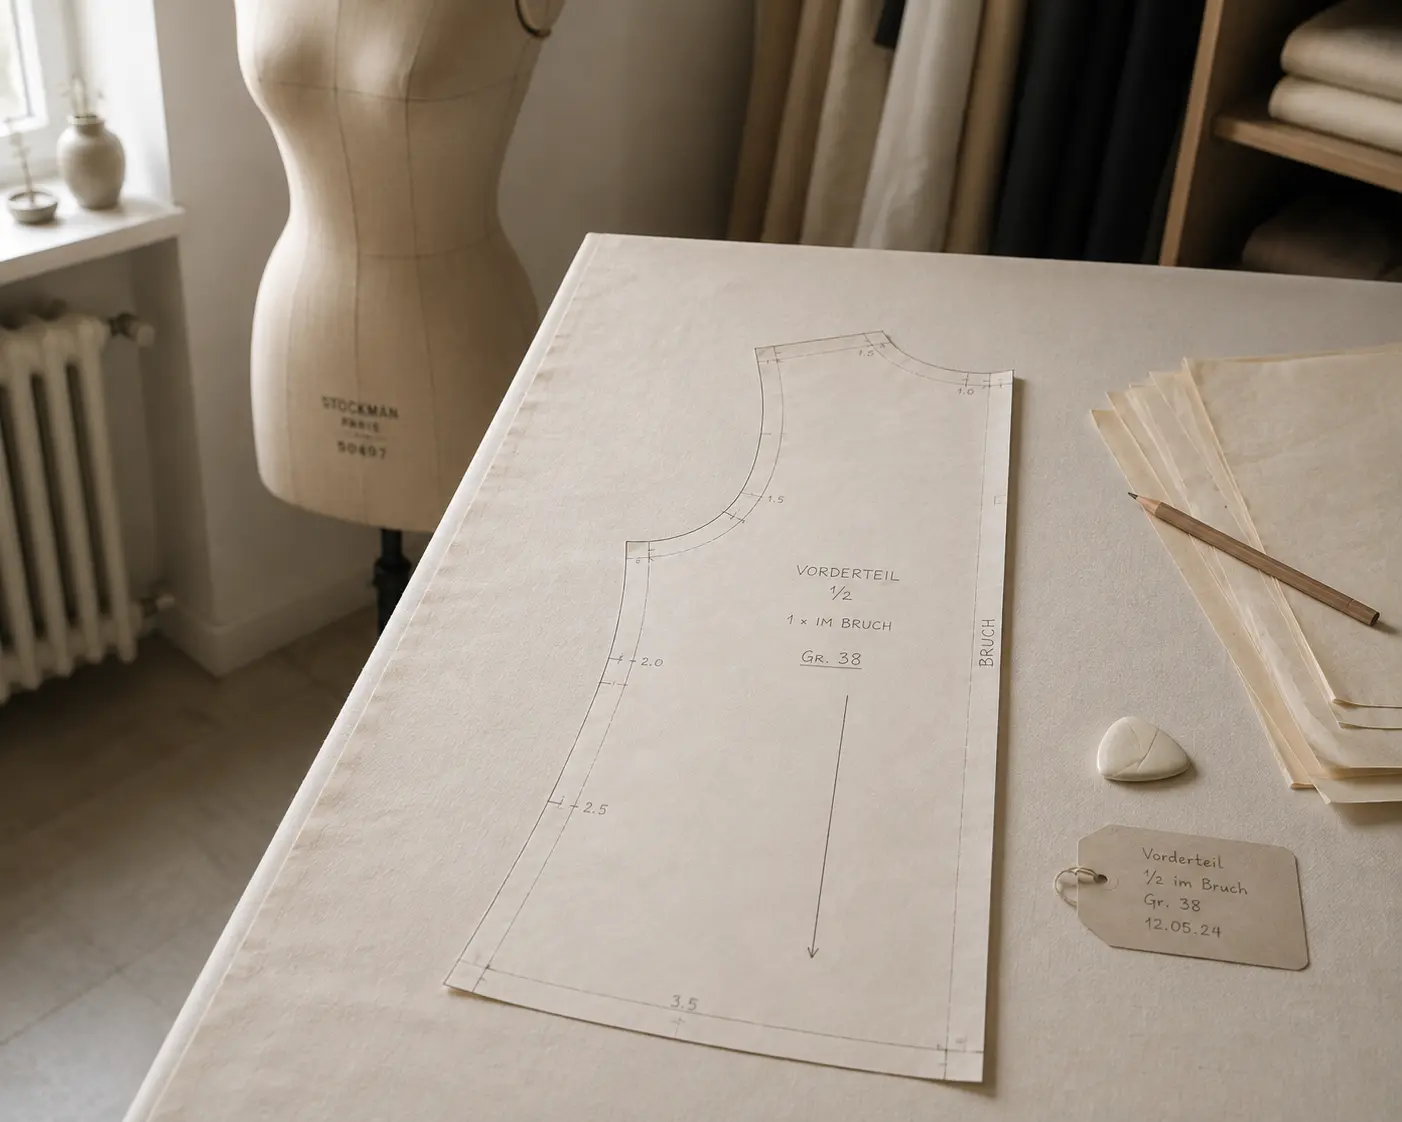
Digitize sewing patterns without tracing.
Test PatternScan Pro free for 14 days with the full feature set. You need your smartphone, a printer and one pattern you always wanted digital.
Photograph your paper pattern and get an automatically scaled digital version with PatternScan Pro.
Usage