

After contour detection you finish your pattern in the desktop editor: add the seam allowance, place notches, define the grain line, draw darts and other internal lines, and turn the piece straight. This guide shows you all four tools, their shortcuts, and what each export format includes.
All four tools live in the editor toolbar and have shortcuts: Seam allowance (Z), Place notch (N), Grain line (F), Draw internal line (L). V takes you back to editing, Esc cancels.
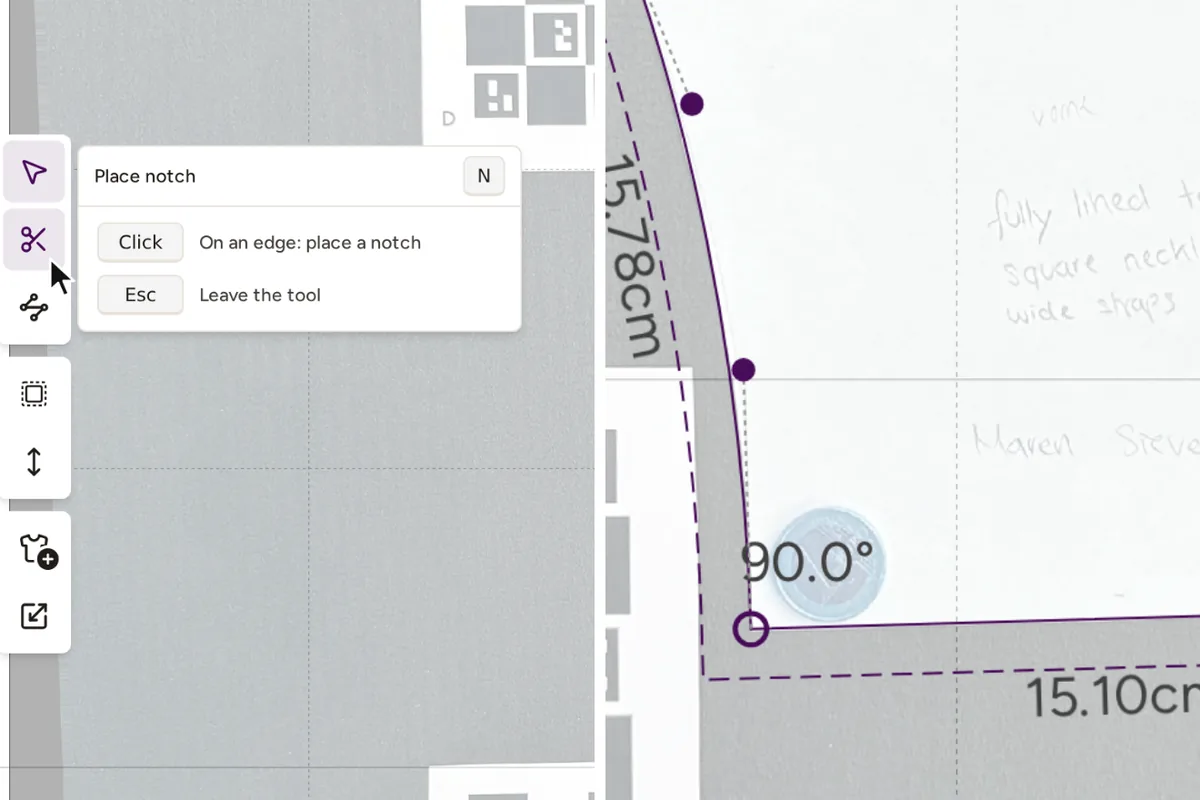
Wherever you are in the editor: the solid contour is always the seam line, the dashed line is always the cutting edge and always lies outside. You never have to remember which line is which.


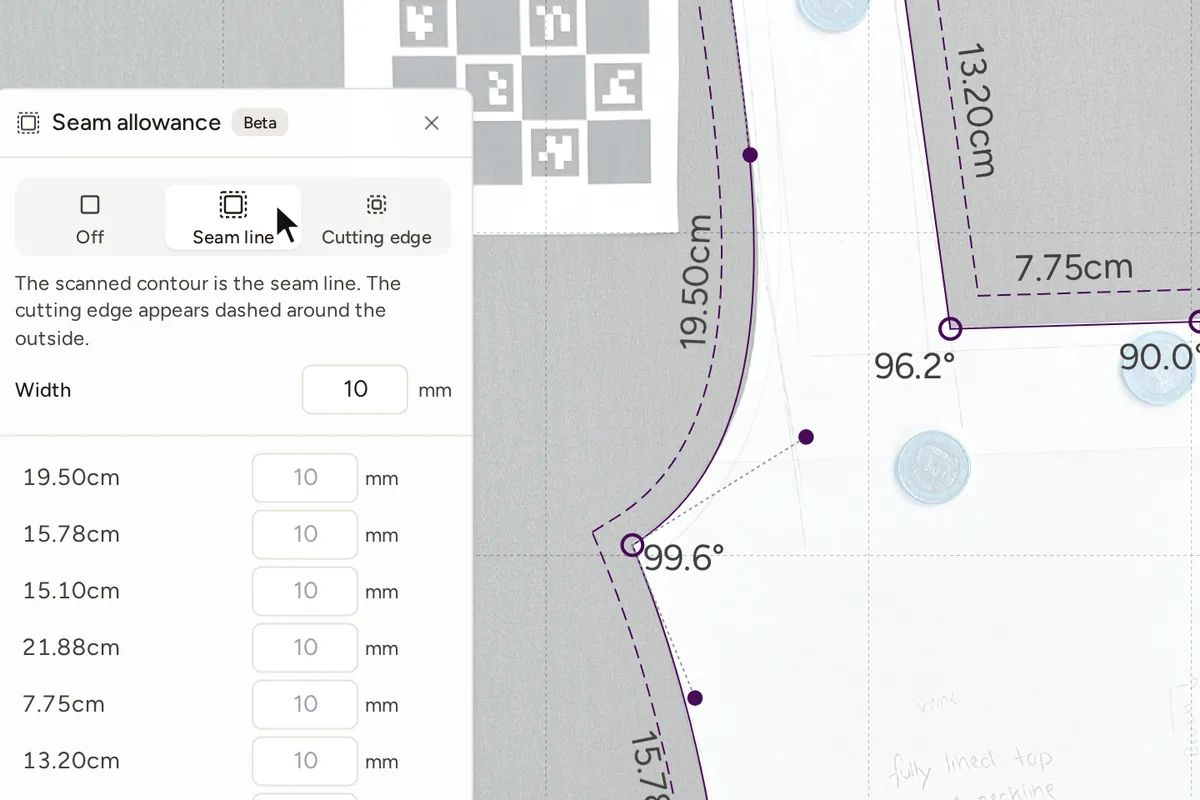
Open the Seam allowance panel and choose what your scan is:
Under Width you set the default in millimeters, the preset is 10 mm. Switching between modes is reversible at any time, your scan is never lost.
Below the default width the panel lists every piece with its edges. Enter a value on an edge and it applies only there, an empty field uses the default. Hovering a row highlights the edge on the canvas, and Reset to width brings back the default.
If a piece is too narrow for the allowance you asked for, the panel tells you with Does not quite fit how much actually fits. And when you later insert or remove control points, your per-edge widths are preserved.

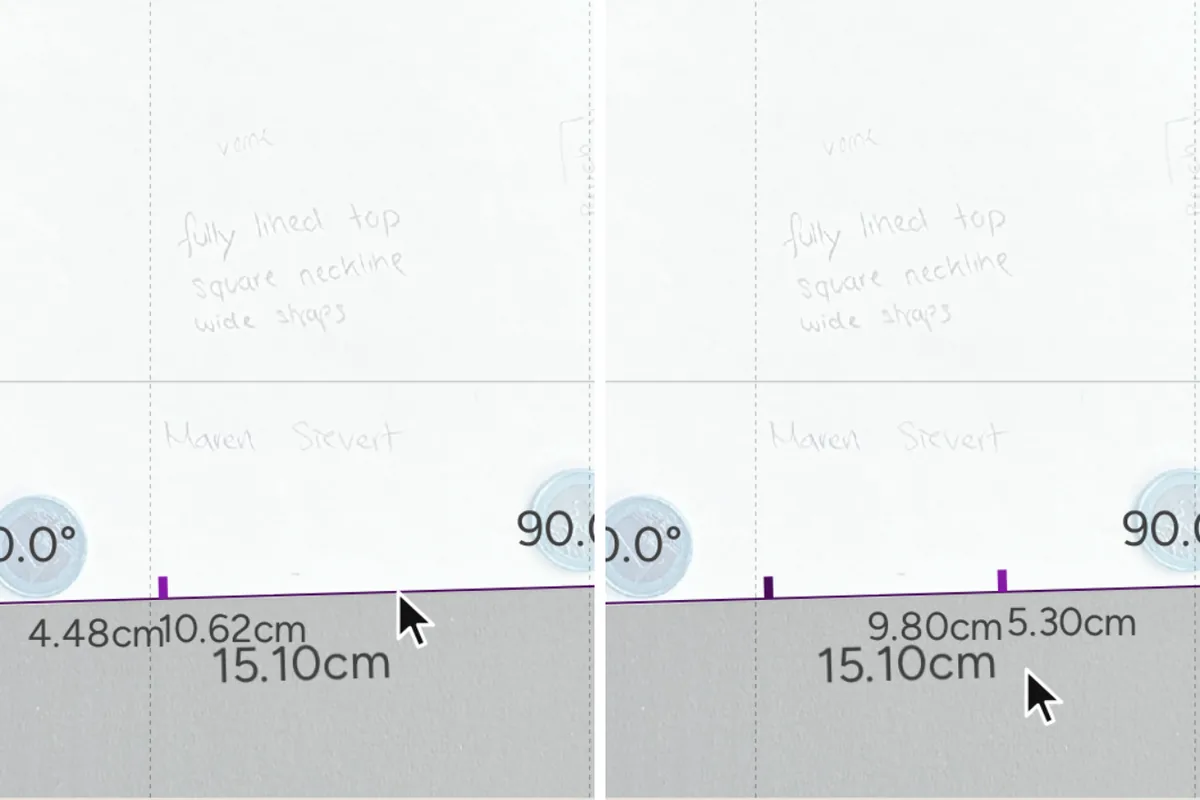
Choose Place notch and click the contour: a small tick appears there. The tool stays active, so you can place several notches in a row. To move one, grab the tick and drag it along the contour. To delete it, Alt-click it, or select it and press Delete. Notches from automatic detection can be moved and deleted the same way.
The direction follows the seam allowance: with an allowance the tick points outward and reaches exactly to the cutting edge, without one it points 5 mm inward. If a slit in the original sits closer than about 2 mm to a corner, detection will not find it, so you place it by hand.
Open the Grain line panel. Three modes:
The arrow deliberately has one head, because with velvet or directional prints up and down are not the same. Each piece has one grain line, the shaft moves it, the ends change its length, Alt-click deletes it.
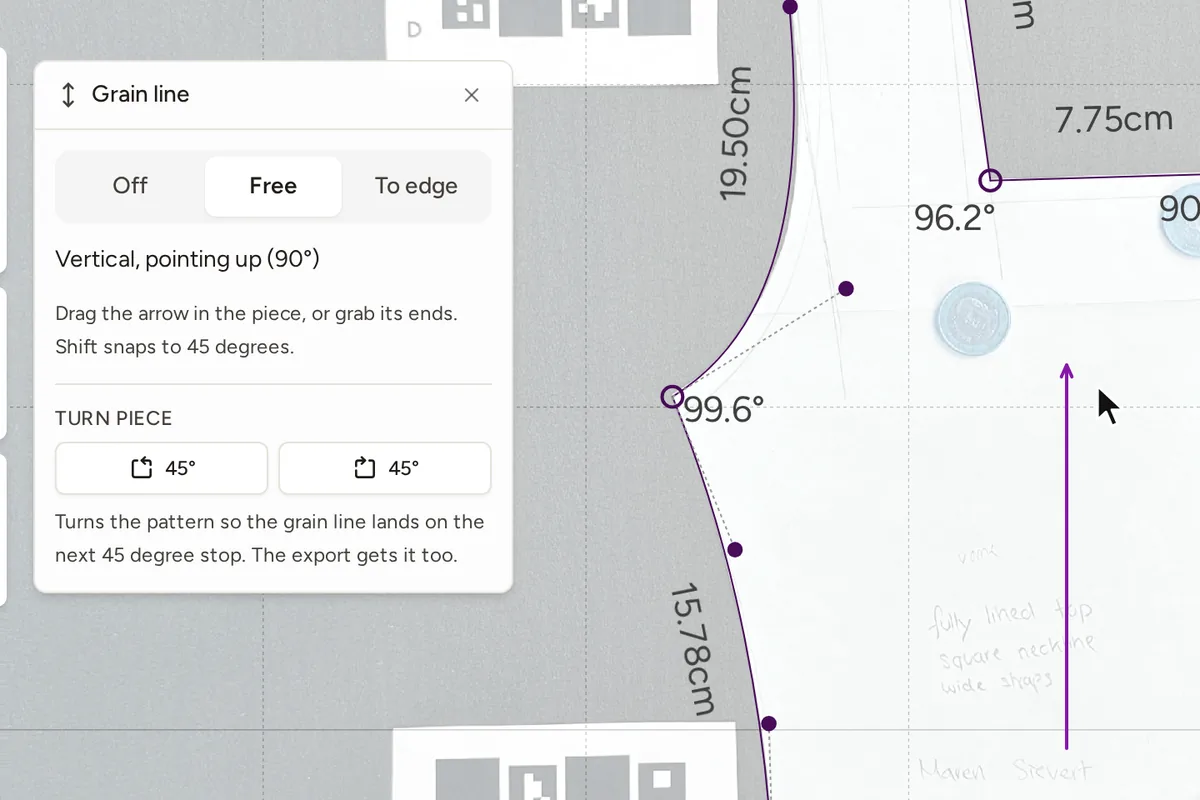
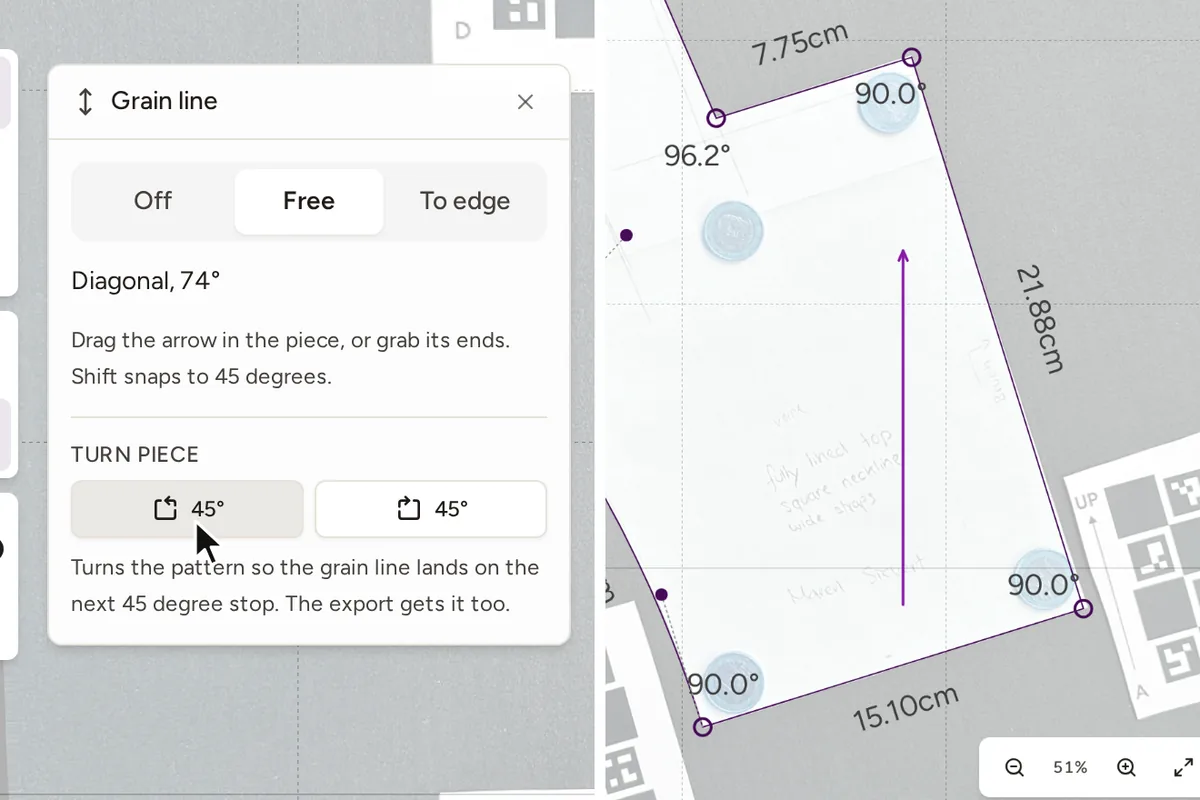
Under Turn piece, two 45° buttons rotate the pattern so the grain line lands on the next 45-degree step. On the canvas there are additional quarter turns of 90° that work without a grain line. Both change the file itself and therefore apply to every export, together with contours, notches and the scan photo.
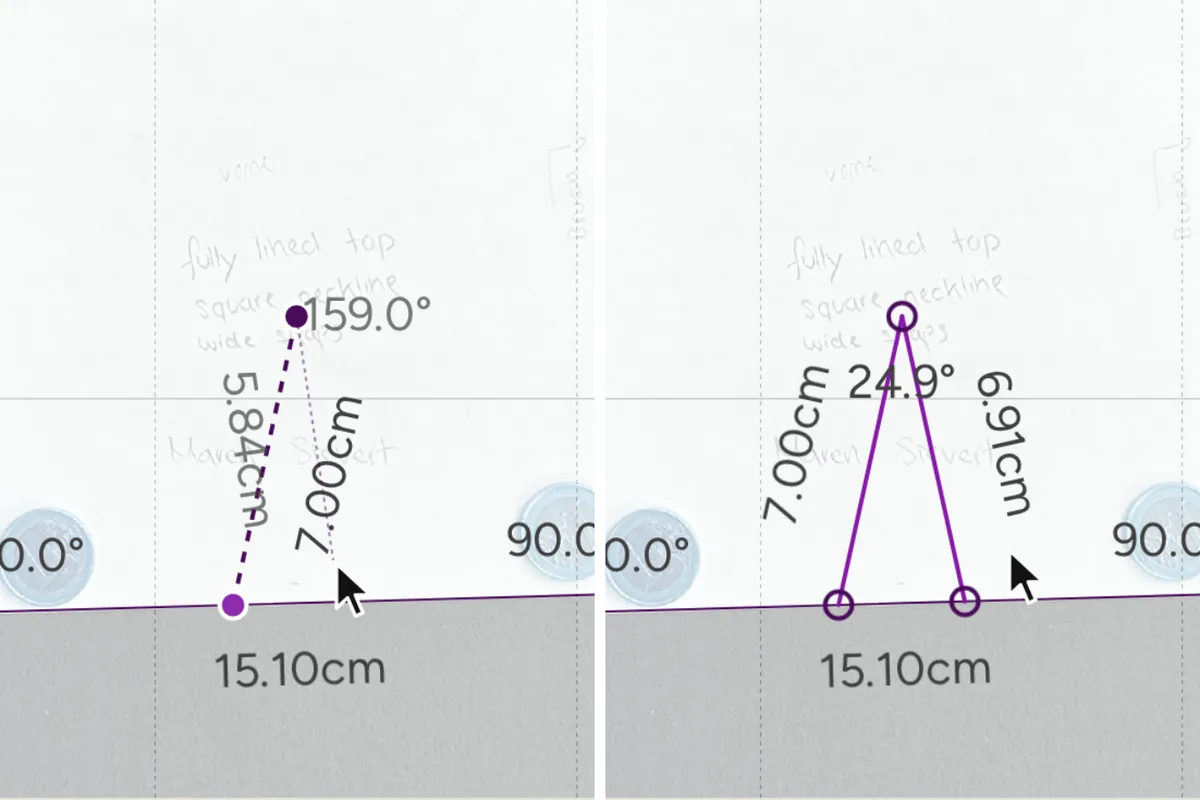
Darts, fold lines and placement marks belong on the piece, not in its outline. Choose Draw internal line and click on the piece: each click places a point, dragging pulls a curve out of it. Near the outline, a notch or another point, the new point catches there. Double-click or Enter finishes the line, a click on the first point closes it into a shape.
To change a line, switch to Edit (V) and click it: its points and lengths appear. Drag a point to move it, or drag the line itself to move it whole. Click the line to insert a point, Alt-click a segment to switch it between line and curve. Delete removes the selected line.
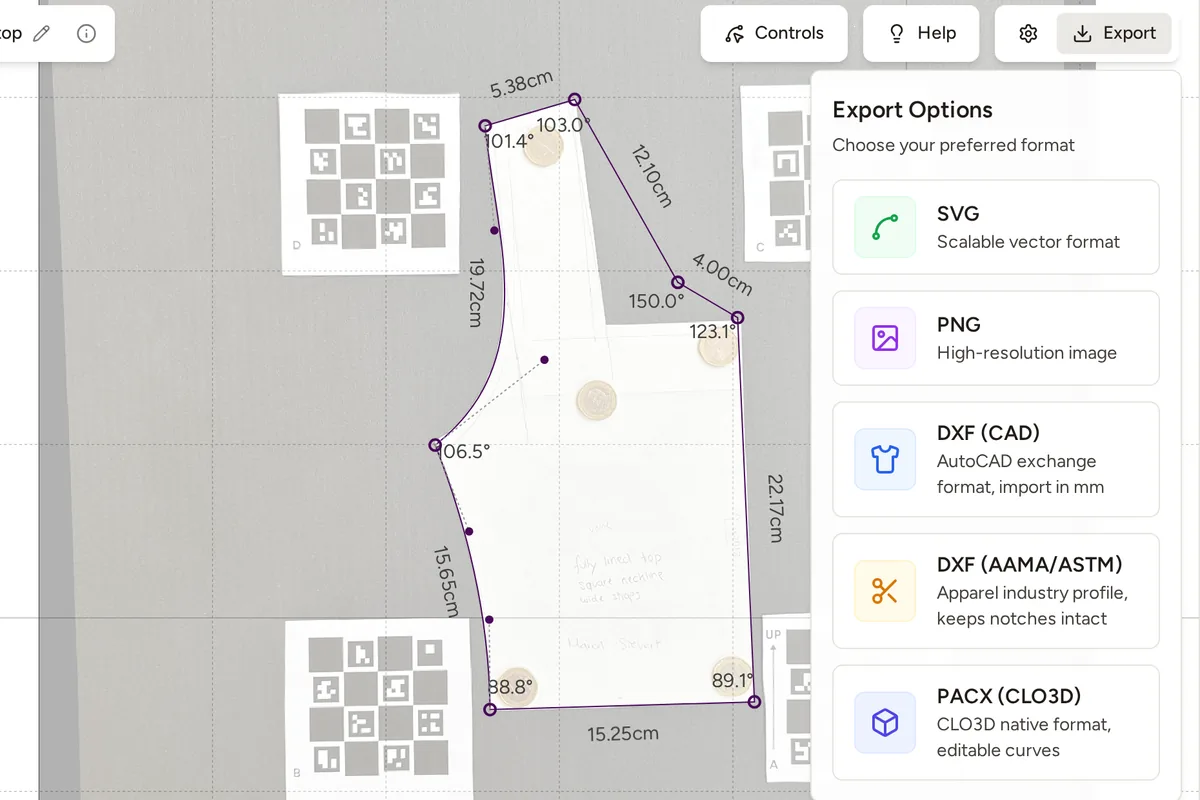
SVG: everything is included: both lines, notches, the grain line arrow and internal lines.
DXF (generic): seam line on the SEW layer, cutting edge on CUT, notches on NOTCH, grain line on GRAIN, internal lines on INTERNAL.
DXF (AAMA/ASTM): the variant for pattern CAD: cutting edge as the boundary, seam line on layer 14, notches as real notch points on layer 4, grain line on layer 7, internal lines on layer 8. Choose the AAMA import in your CAD so it reads notches as notches.
PACX for CLO3D: deliberately just the seam line, CLO3D derives the allowance itself. Notches, grain line and internal lines are currently not written.
And to be honest about it: the companion app does not display seam allowance and grain line yet, finishing happens in the desktop editor.

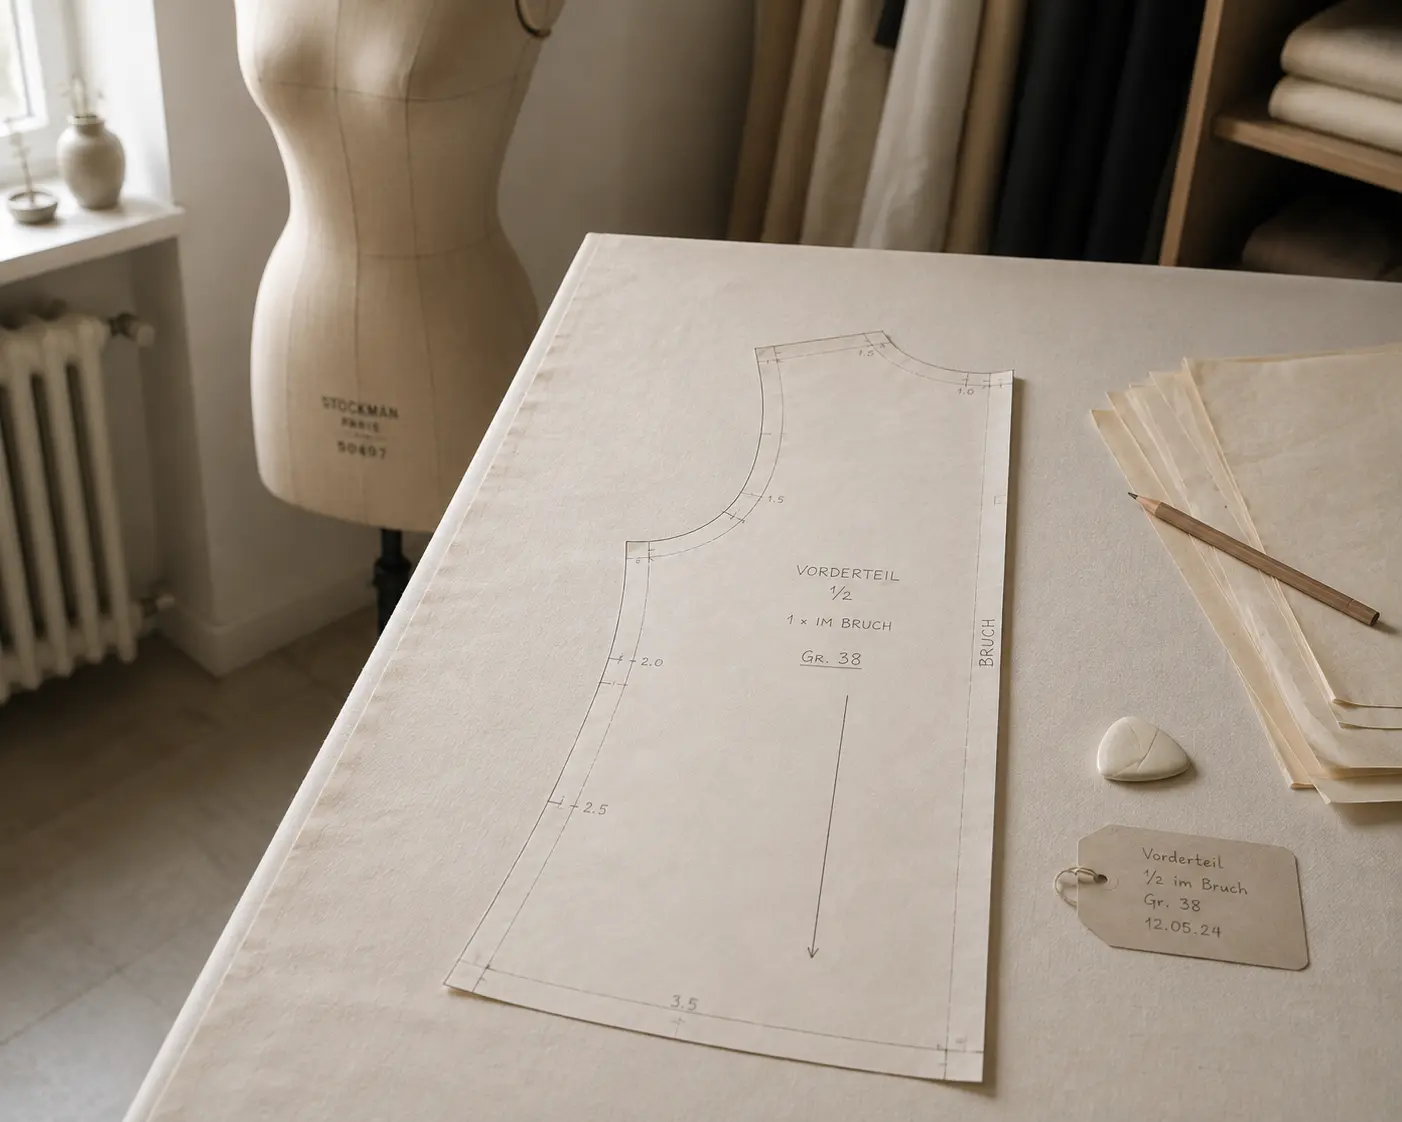
Digitize sewing patterns without tracing.
Test PatternScan Pro free for 14 days with the full feature set. You need your smartphone, a printer and one pattern you always wanted digital.
Photograph your paper pattern and get an automatically scaled digital version with PatternScan Pro.
Usage