

Automatic detection needs cut-out, free-standing pieces. For everything else there is the pen tool: you draw the contour yourself, directly on your photo, and calibration, distortion correction and every export work exactly the same afterwards.
Typical cases: an uncut multi-size sheet you do not want to cut, a fragile original where you only trace one size, or a piece the detection did not separate cleanly. The photo works like always, with the four Reference Tiles setting the scale.


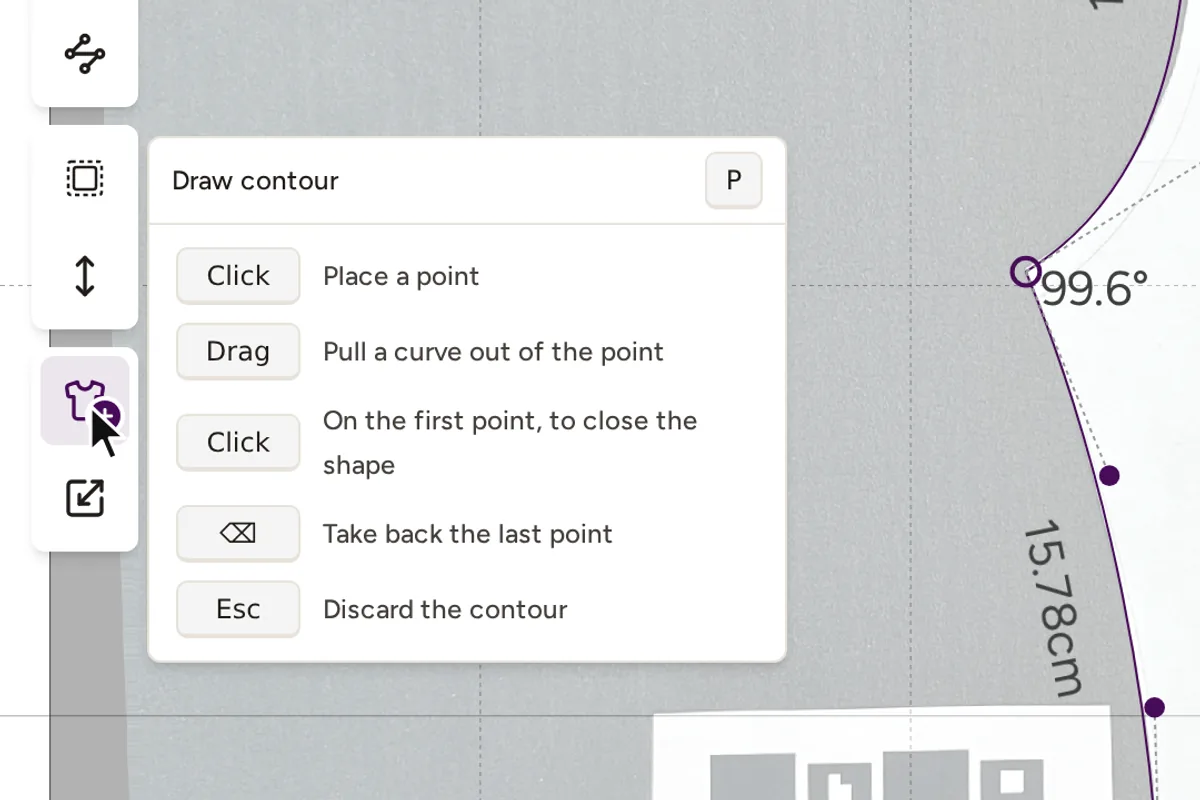
Choose Draw contour in the toolbar, shortcut P, or click + Draw contour in the contour list. The cursor becomes a crosshair and the photo stays visible underneath, so you trace directly on the lines of your pattern.
Every click sets a corner point, connected to the previous one by a straight line. Click and hold, and the previous section pulls toward your drag and becomes a curve. Straight edges are fast clicks, rounded edges are short drags.
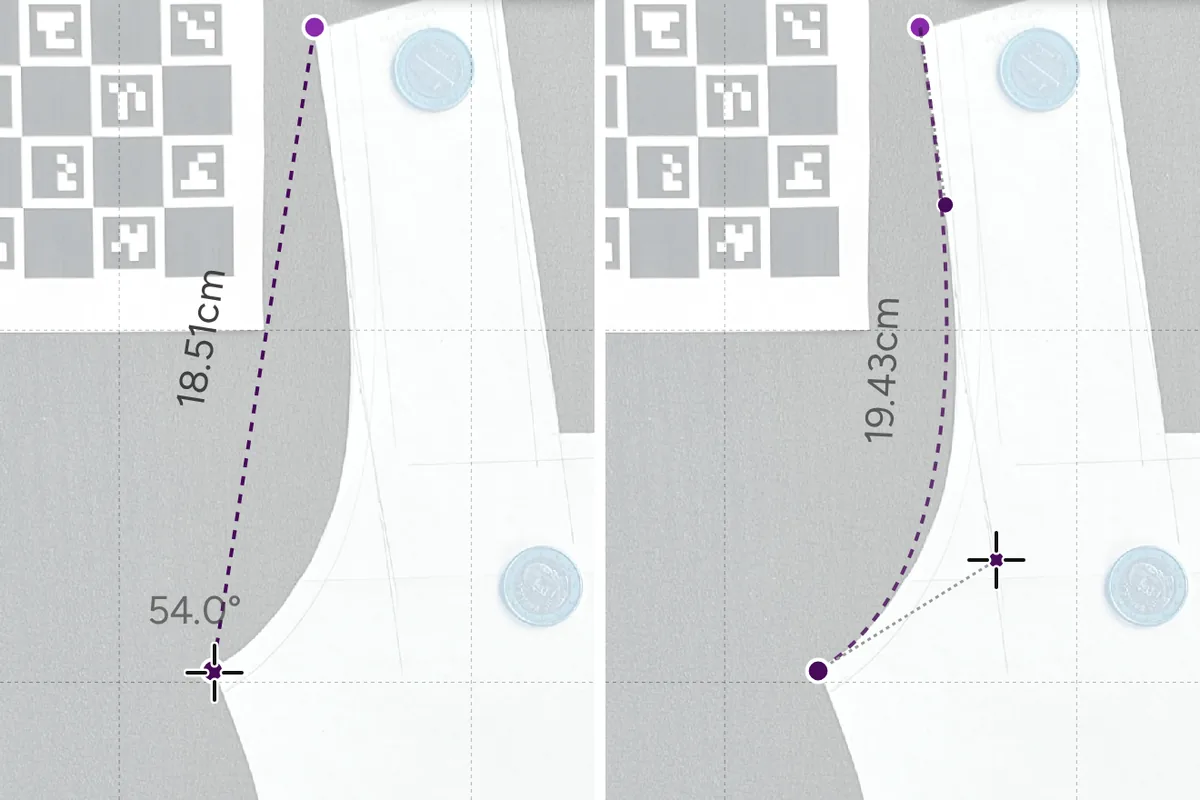
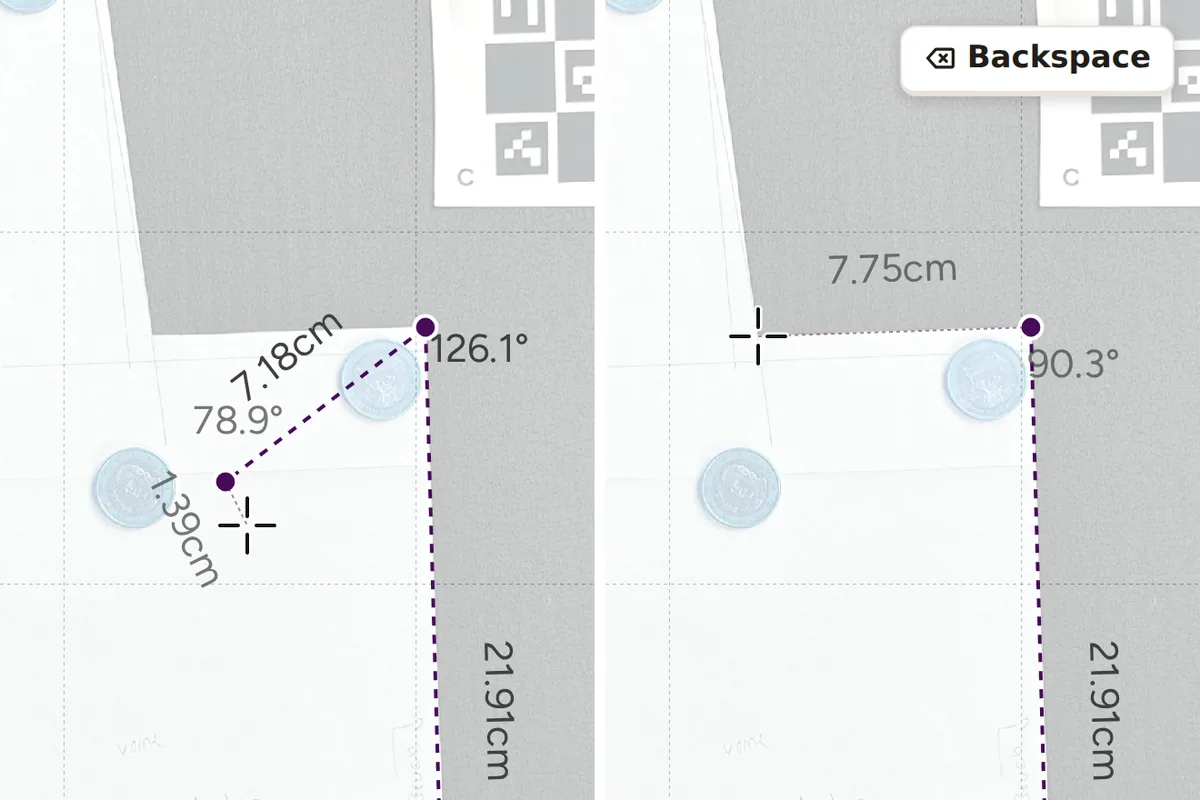
Backspace removes the last point without leaving the drawing mode, Esc discards the whole drawing. You do not have to be perfect on the first pass, rough is fine.
Click the first point to close the contour. From that moment it is a normal pattern piece: true to scale through the Reference Tiles, measurable, and ready for every export.
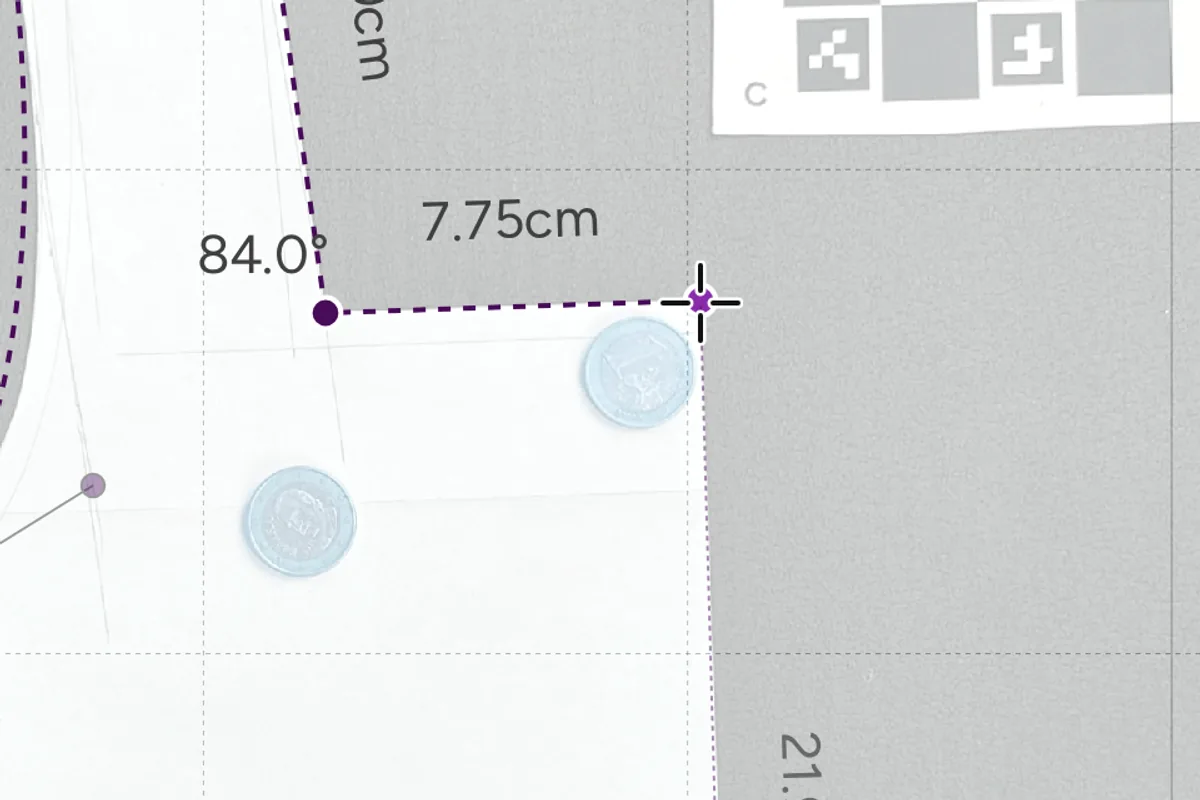
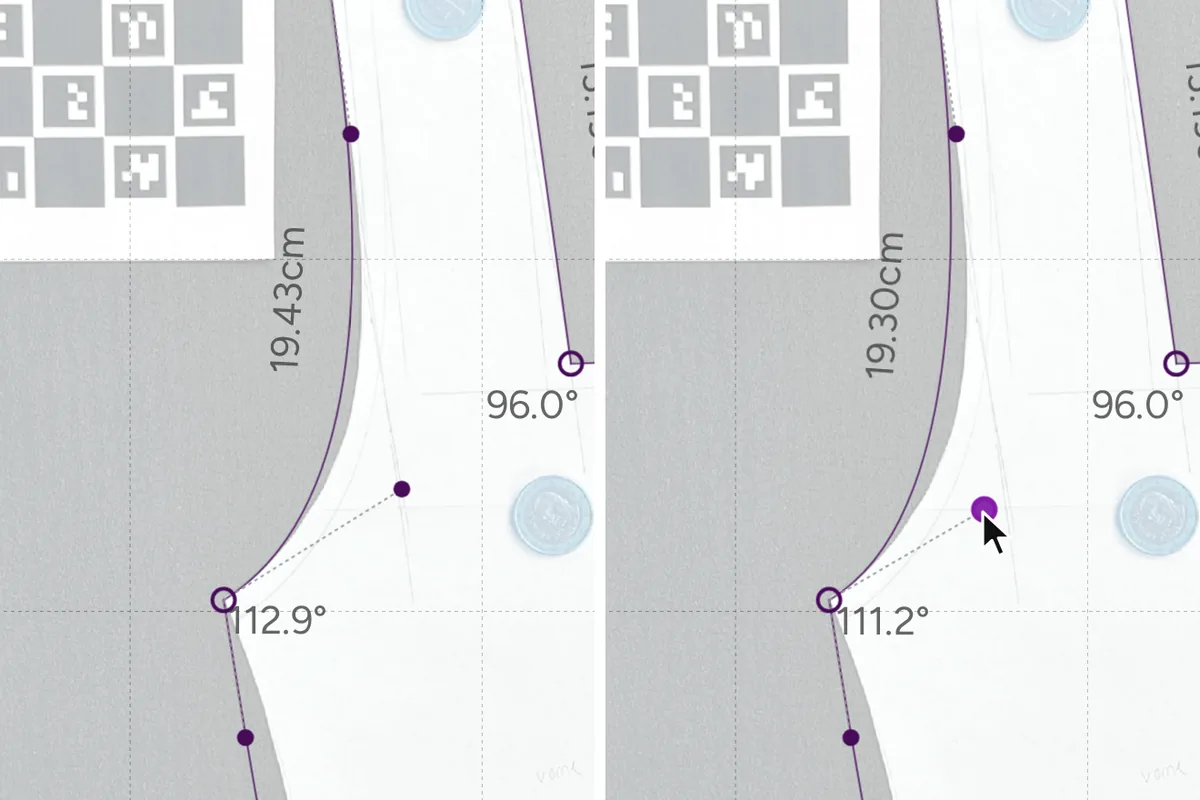
A drawn contour behaves like a detected one: move points and shape curves as in our contour editing guide, measure a known length, and finish the piece with seam allowance, grain line and notches.

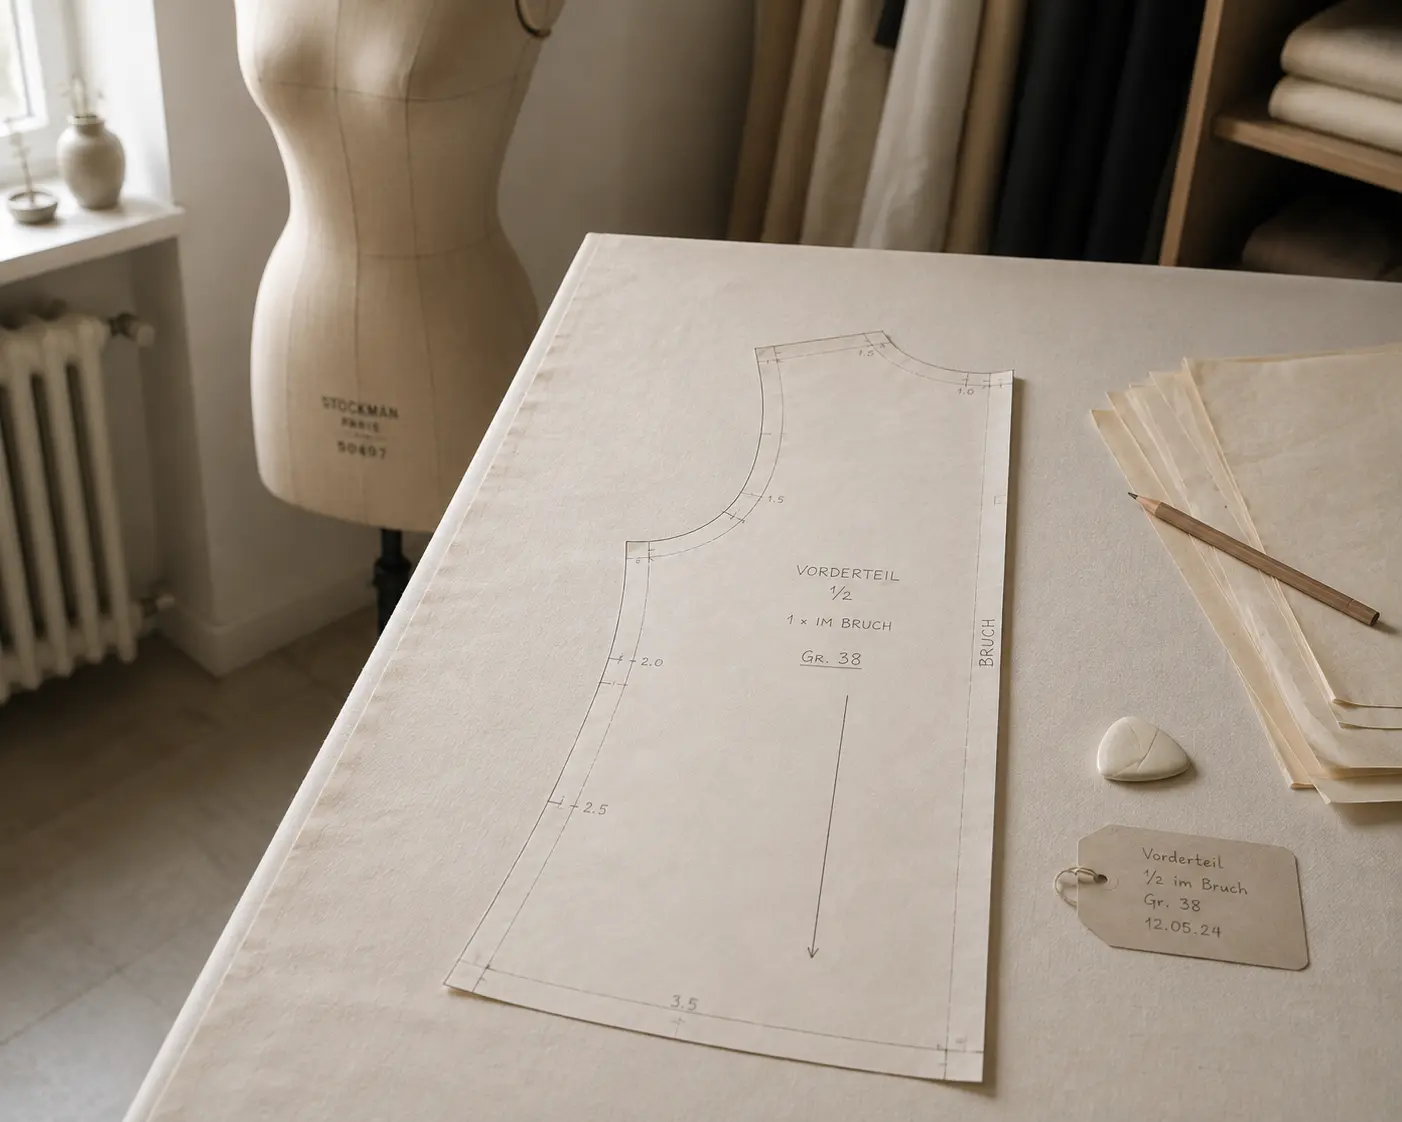
Digitize sewing patterns without tracing.
Test PatternScan Pro free for 14 days with the full feature set. You need your smartphone, a printer and one pattern you always wanted digital.
Photograph your paper pattern and get an automatically scaled digital version with PatternScan Pro.
Usage